

Full-Site Editing is one of the recent and most exciting developments in WordPress, along with the Gutenberg editor. It’s not just another incremental update or new feature – it represents a fundamental shift in how we approach web design and development with the platform.
If you haven’t tried this feature yet, then read on, as we dive a little deeper about Full Site Editing. We’ll cover how it can benefit you overall, regardless of your experience level. We’ll also walk you through using it effectively to customize your website.
What Is WordPress Full-Site Editing?
Full-Site Editing (or FSE) is WordPress’s block-based approach to building and designing websites. What this means is that users can easily add, rearrange, and customize web page elements similar to a page builder.
The FSE feature was the second phase of the Gutenberg project, building upon the initial introduction of the block editor. It was officially introduced in WordPress version 5.9 back in 2022, and since then, it's continued to enhance the website-building experience for users of all skill levels.
Blocks were originally used just for content creation, like writing blog posts. But with the latest updates of Full-Site Editing, blocks can now be represented as site elements like headers and footers. Basically, all the elements you see on the frontend are made of blocks.
One benefit we see with Full-Site Editing is how easy it is to manage a website. In the past, you’ll need to jump between different panels whenever you need to modify a theme or page template. This used to be confusing and intimidating, especially for WordPress newcomers. Full-Site Editing takes away this barrier by making everything accessible within the same location.
The WordPress team has been working hard to continuously improve the capabilities and user-friendliness of this feature. With each update, it becomes more powerful and accessible. This made it possible for non-technical WordPress owners to work on their websites without having to rely on experts all the time.
How FSE Differs From the Traditional Approach
Full-Site Editing introduces a lot of features that are way too different from the traditional design workflow in WordPress. These are some of the key differences we’ve noticed:
1) Block-Based Editing
Full-Site Editing uses a block-based system where each element of a webpage, like text, images, and widgets, is represented as a block. This gives you the flexibility to mix, match, and arrange page components easily.
However, with the traditional approach, users will have to rely on templates or add custom codes to tweak elements.
2) Templates and Template Parts
Templates and template parts are two powerful features in WordPress that allow users to customize layouts like a regular content editor. You can move different elements, change attributes like colors and fonts, and add or remove an element. This also applies to individual template parts like headers and footers, which can be edited separately.
3) Singular Workflow
Full-Site Editing grants users full control over every aspect of their website, such as creating menus or content, directly within the WordPress editor. This marks a stark contrast to the traditional approach, which often forces users to navigate disjointed settings or edit code to achieve similar customizations.
4) Real-Time Editing
One of the most satisfying aspects of Full-Site Editing is the ability to see your changes in real time, right there in the editor. You don’t need to toggle back and forth between the admin panel and your live site. This immediate feedback loop allows you to tweak layouts, colors, and other elements until you land on the perfect design.
This level of responsiveness was sorely missing from the traditional WordPress workflow. In the old way, users had to refresh the webpage or preview the changes on the frontend on a separate tab.
5) Reduced Reliance on Themes and Plugins
With Full-Site Editing, you can customize templates and layouts using native WordPress blocks instead of relying on pre-built themes and third-party plugins. This simply means you can design your site from scratch with greater flexibility and fewer compatibility issues.
6) Unified Theme Configuration with theme.json
Rather than having style settings and customization options scattered across various locations, theme.json centralizes the default styles, APIs, and settings for blocks into a single configuration file. This consolidation simplifies the development and maintenance process.
Note that if you don’t like touching the theme.json file, you can also modify global styles directly within the editor (which we’ll show in the next sections).
How to Use Full-Site Editing in WordPress
Now that we've looked at the benefits of Full-Site Editing, let's get into the practical side of things. In this section, we’ll show you how to use Full-Site Editing to create headers and templates, access global styles, and package your design as a shareable theme.
Basic Requirements
Before getting started with FSE, there are a few key things you'll want to have in place:
- WordPress version 5.8 or higher: Have the latest WordPress version installed on your website. Otherwise, If you're on an older version, make sure to install the Gutenberg plugin.
- Install a block-based theme: Block-based themes are specifically designed for Full-Site Editing. If you're not sure whether your theme is block-based, you can check with your theme provider or review the theme documentation. Some examples of block themes are Twenty Twenty-Two, Bricksy, Blockbase, Blockpress, SeedProd, and Frost.
- Use a staging site: A staging site is a testing ground where you can safely experiment with changes without affecting your live site. If you’re using Full-Site Editing for the first time, this is the perfect place as it allows you to get comfortable with the new workflow before deploying anything.
Note: If you're unsure where to start with setting up a staging site, we’ve got a great article that reviews the best sandbox sites for WordPress.
How to Access Full-Site Editing
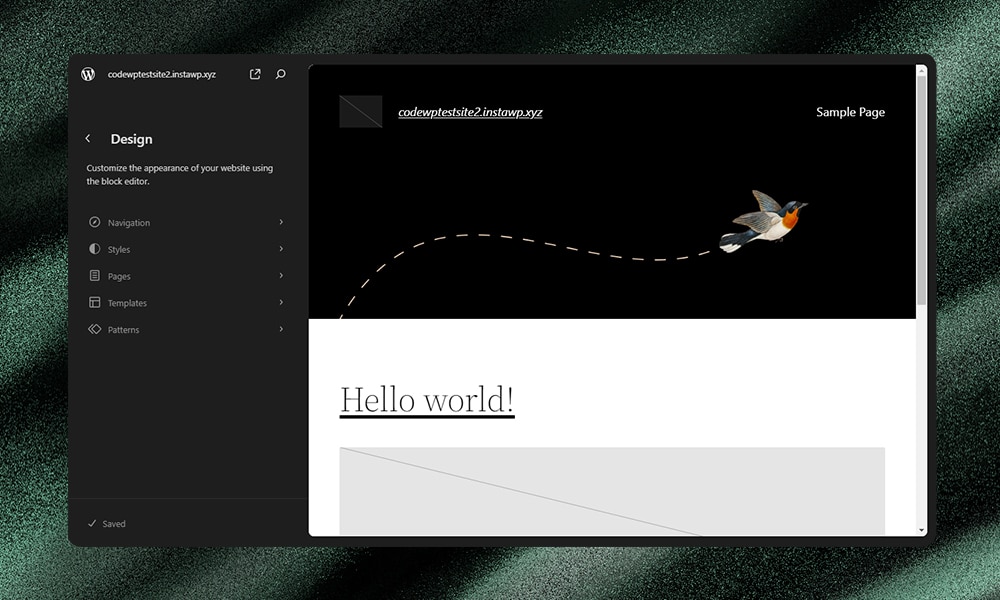
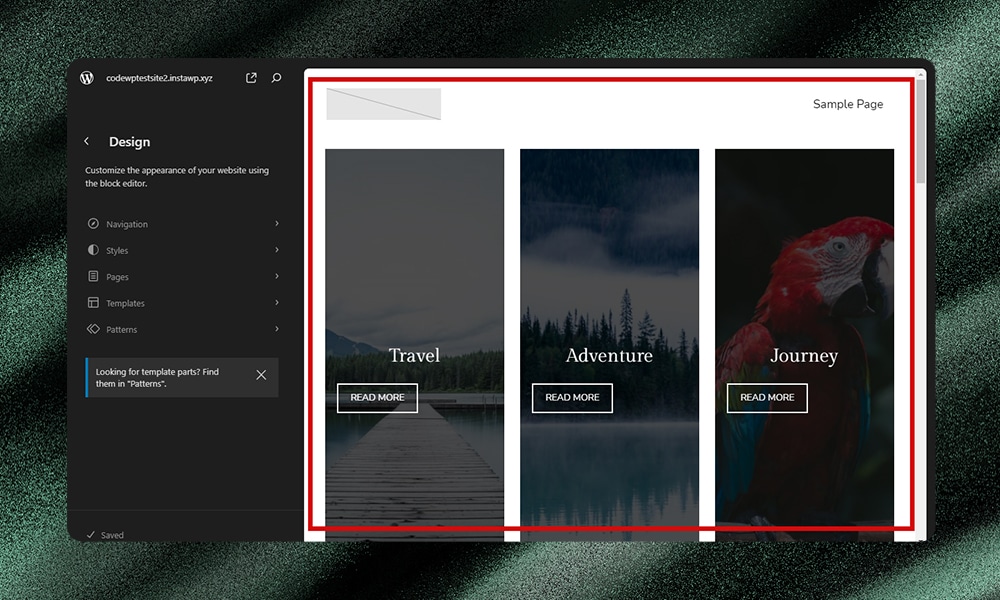
From your WordPress dashboard, go to Appearance > Editor. For this example, we’ll be using the Bricksy theme.
Once inside the editor, you'll find several tools for customizing your website's elements, from colors and fonts to layouts and widgets.
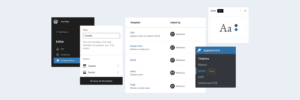
On the left, you'll notice a handy sidebar with quick access to various menu options:
- Navigation: View and manage your site's page hierarchy.
- Styles: Tweak global style settings such as typography, colors, and layout.
- Pages: Browse and customize layouts of different pages within the website.
- Templates: Access various template options for customizing site-wide elements, such as headers and footers.
- Patterns: Explore pre-designed block patterns for page sections like headers, footers, and more. Available options may vary depending on the theme you’re using.

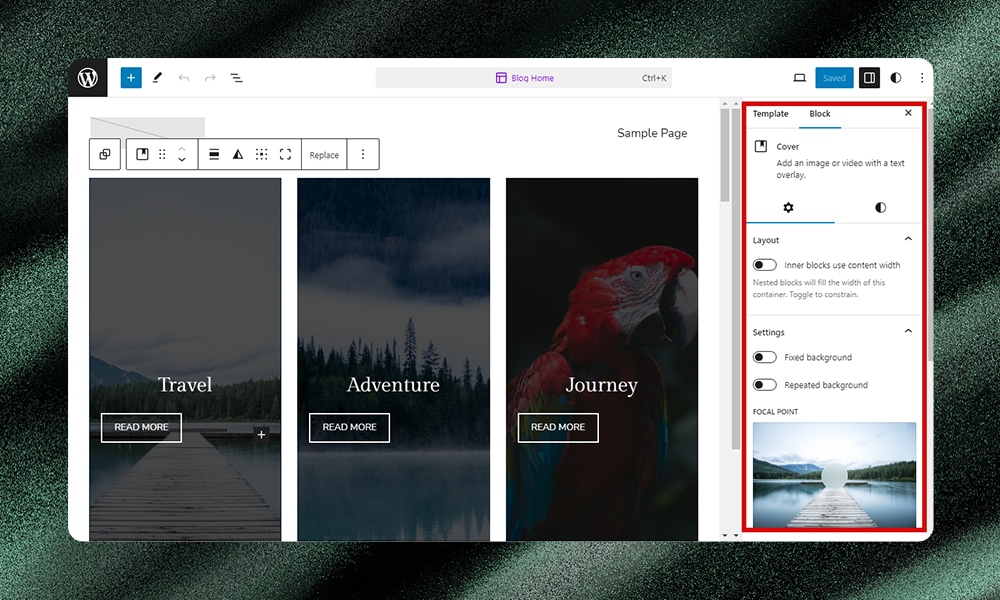
The main editing screen is where you'll dedicate the majority of your time to creating your templates and blocks. It serves as your canvas for creativity. Add content, adjust settings, and rearrange elements to your liking. Simply click anywhere to reveal the customization options for that specific template or block.
Each element has its own customization settings. The settings may vary depending on the block you choose. For example, if you click on a section, you’ll have access to the layout and styling options.
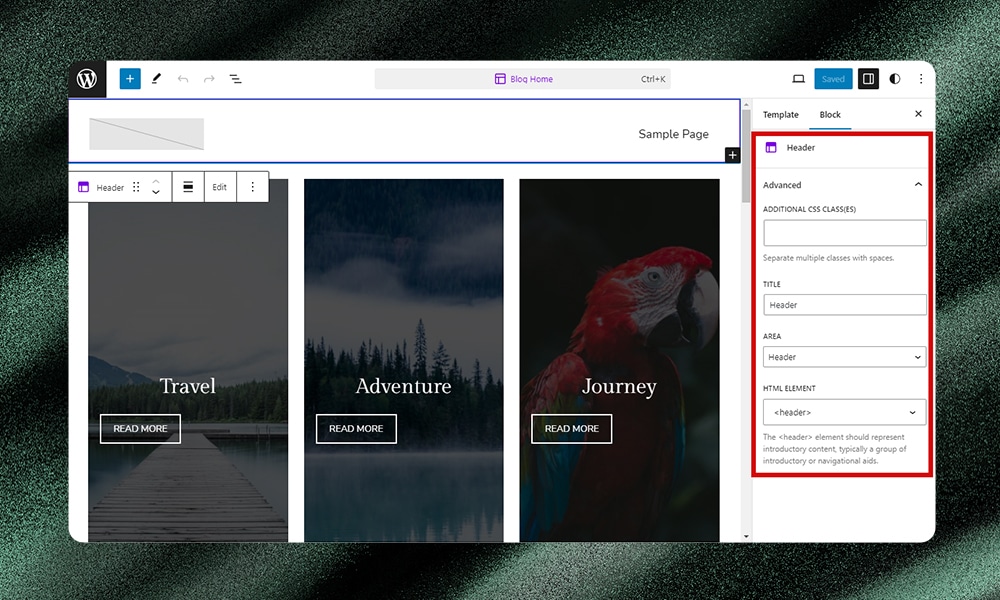
If you select the header, advanced settings like adding a CSS class, a title, an area, or an HTML element will be shown on the left panel.
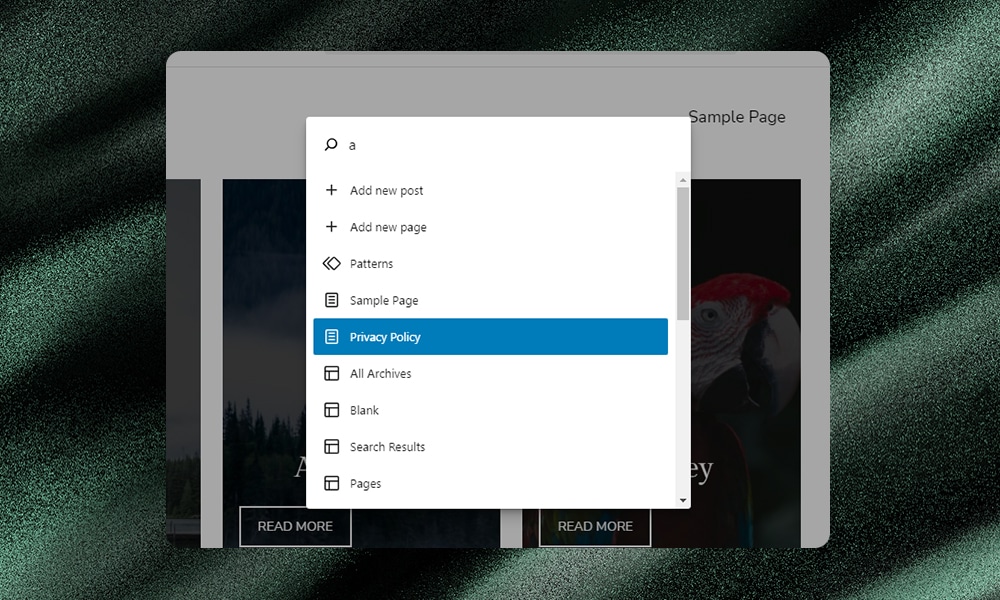
At the top center of the screen, you'll see the current page displayed. Clicking on it will open a pop-up window that provides options to duplicate, reorder, or delete elements on the page.
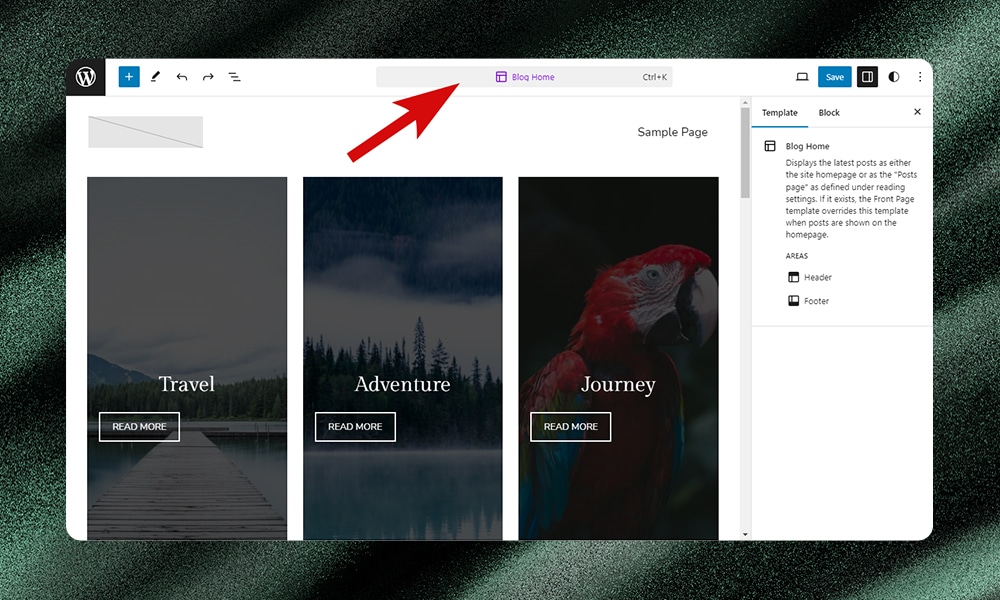
From here, you can also search for commands to add a new post or page, as well as access other pages within the editor.
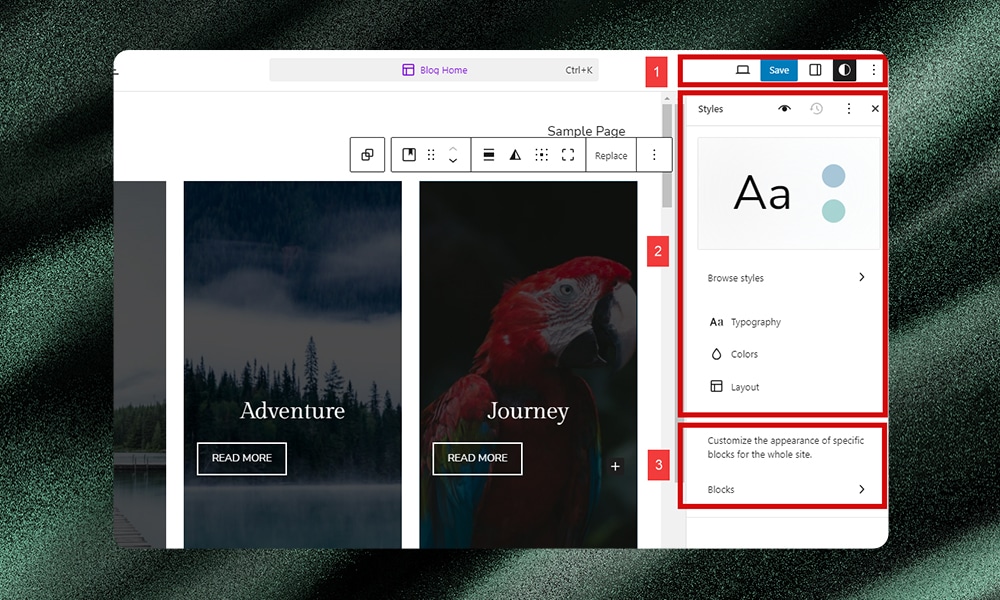
After configuring the settings, you can navigate to the other options located in the top right corner of the page. This area allows you to preview or save your current work. You'll also find the style option (represented by a half-black, half-white circle icon) where you can browse and adjust styles. Additionally, you can customize the blocks for your entire site from this section.
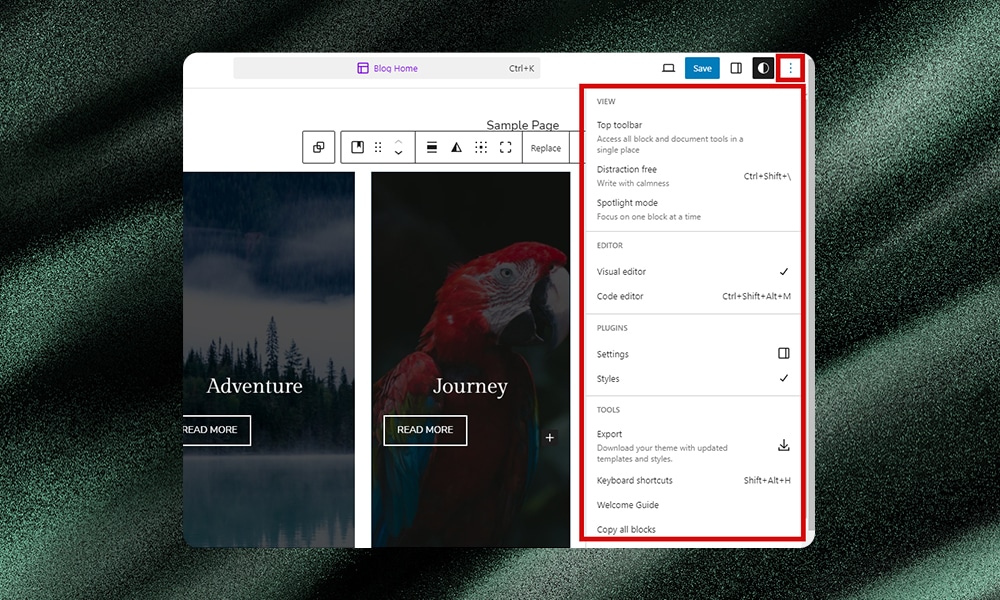
Beside the style option, you’ll find the three-dot icon that reveals additional functionalities and settings. This includes view options, editor options, plugin settings, tools to export templates, a welcome guide, and various other features.
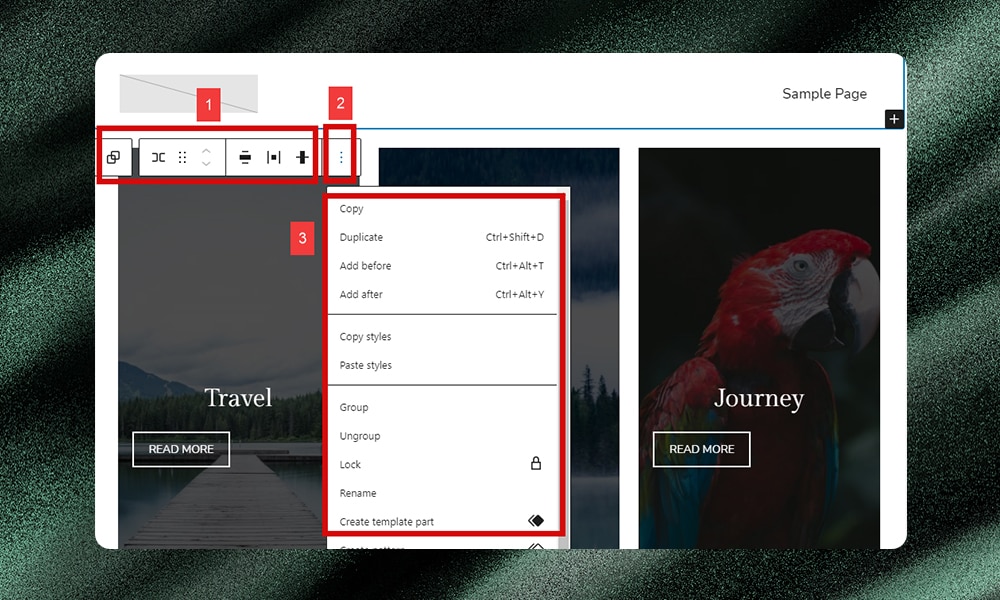
Lastly, whenever you select a block on the page, a familiar floating menu bar appears. This provides you quick access to group, move, align, or edit a block. The three-dot icon offers further options like copying styles, pasting styles, and creating a template part.
Creating a WordPress Header
Now, let’s try to create a WordPress header with Full-Site Editing. In the editor, click on Patterns > Manage all template parts, as shown.
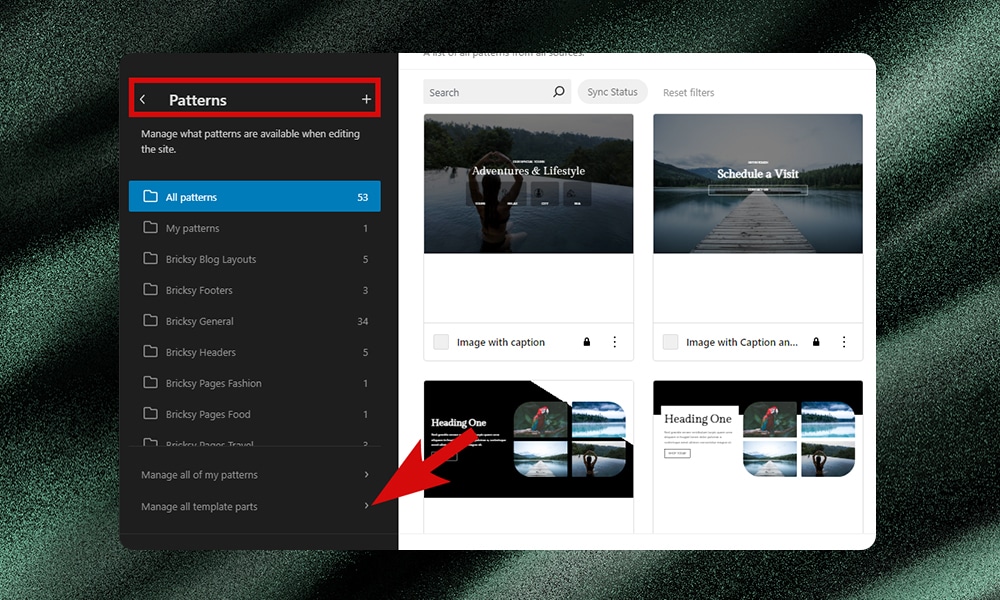
You'll be presented with a table displaying all the existing template parts on your website. You can filter the available options to show either the default theme templates or all templates, including any custom ones you've created.
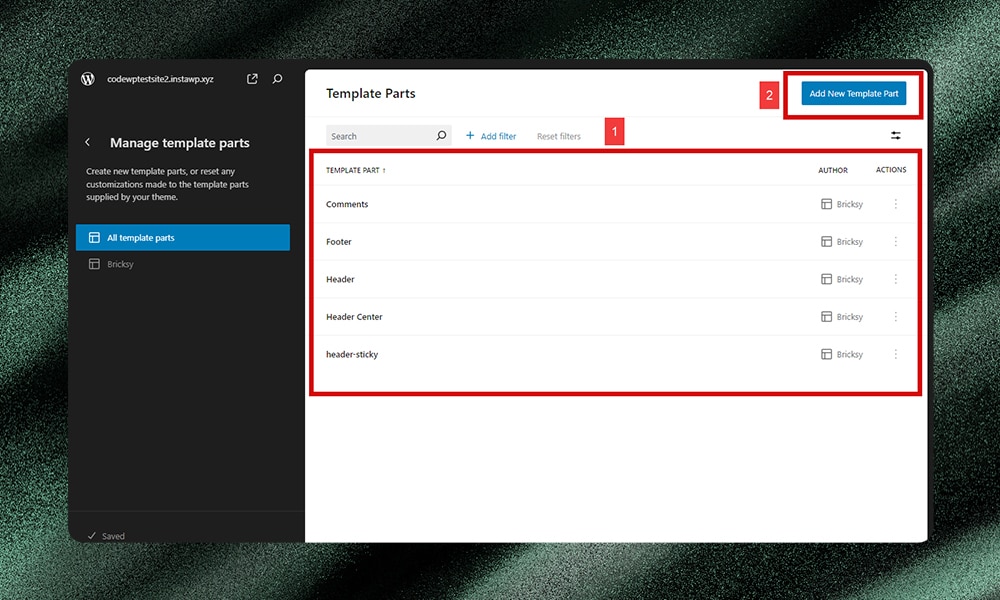
You can either select an existing header template to edit or create a new one. For our purposes, let's create a fresh header by clicking on the ‘Add New Template Part.’
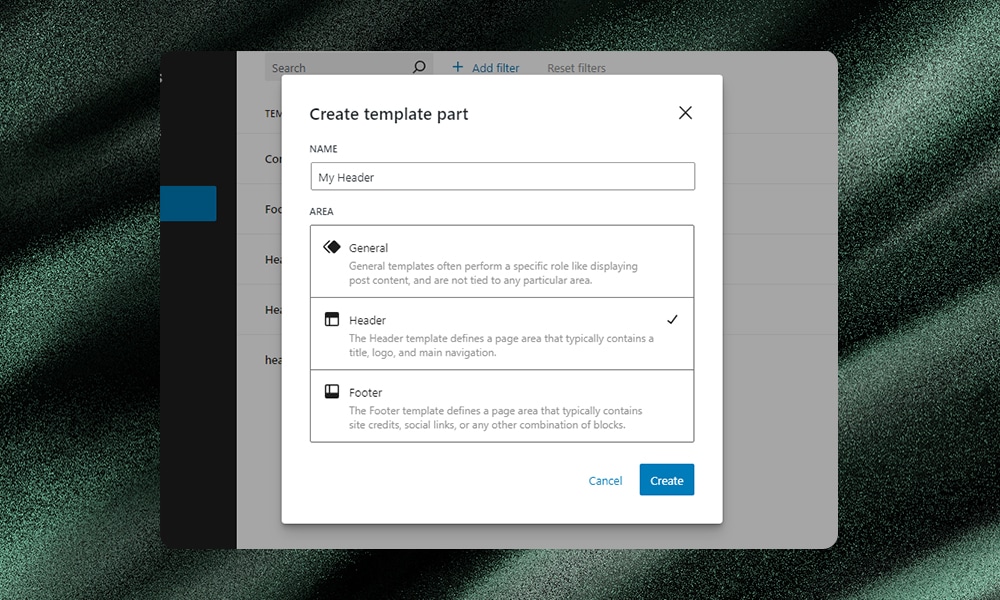
In the pop-up window, enter a name for your new template, select ‘Header’ from the area section, and click ‘Create.’ This will take you to the main editing screen, where you can add and customize blocks.
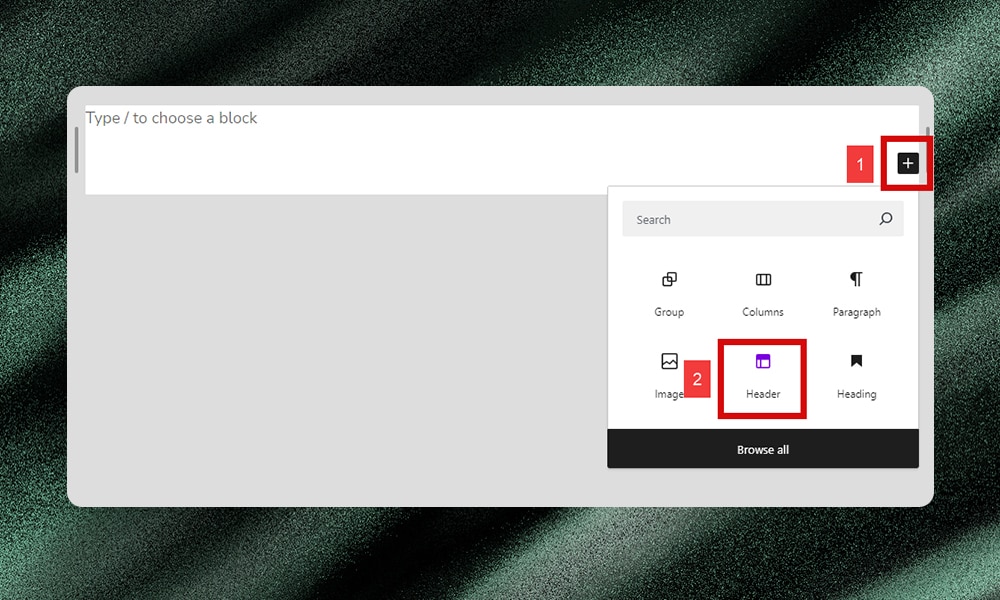
Once you're in the template editing mode, click on the ‘plus’ icon and select the ‘Header’ block. You should see a floating menu with options to edit the header block.

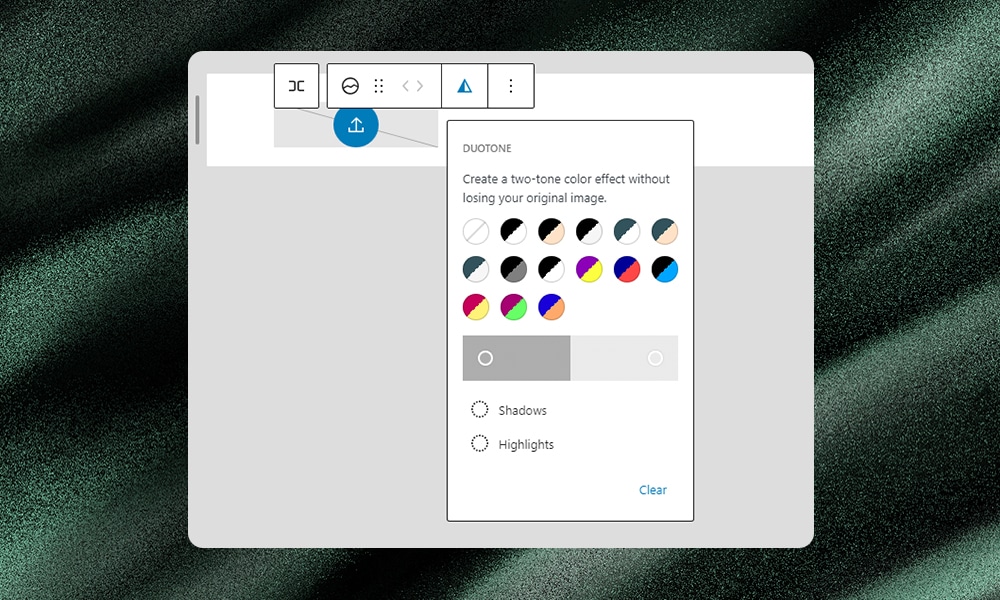
Click each element on the header block. As you do so, a floating menu will appear to give you access to the styling options. You can add a parent block, rearrange, select a color, add an image, and many others. Feel free to customize - adjust the text, font, color, and size as needed. You can also add more blocks to create a multi-component header.
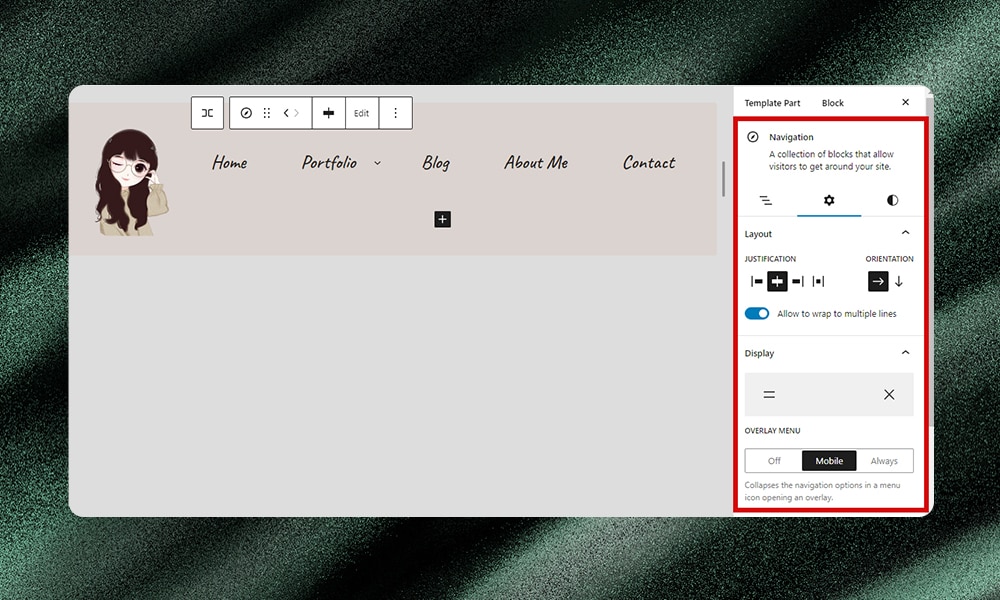
For more advanced customization options, you can explore the settings panel on the right side of the interface. Here, you'll find controls for adjusting spacing, alignment, and other layout settings.
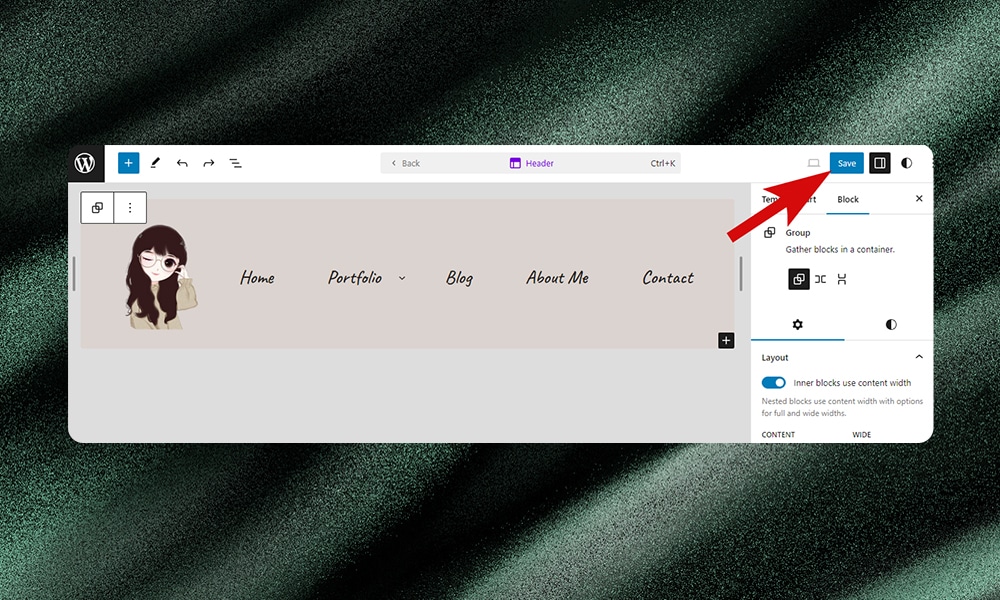
Once you're satisfied with your header design, click ‘Save.’ This will update your site with the new header design.
Customizing a Single Post Template
Creating and customizing single post templates with Full-Site Editing is straightforward.
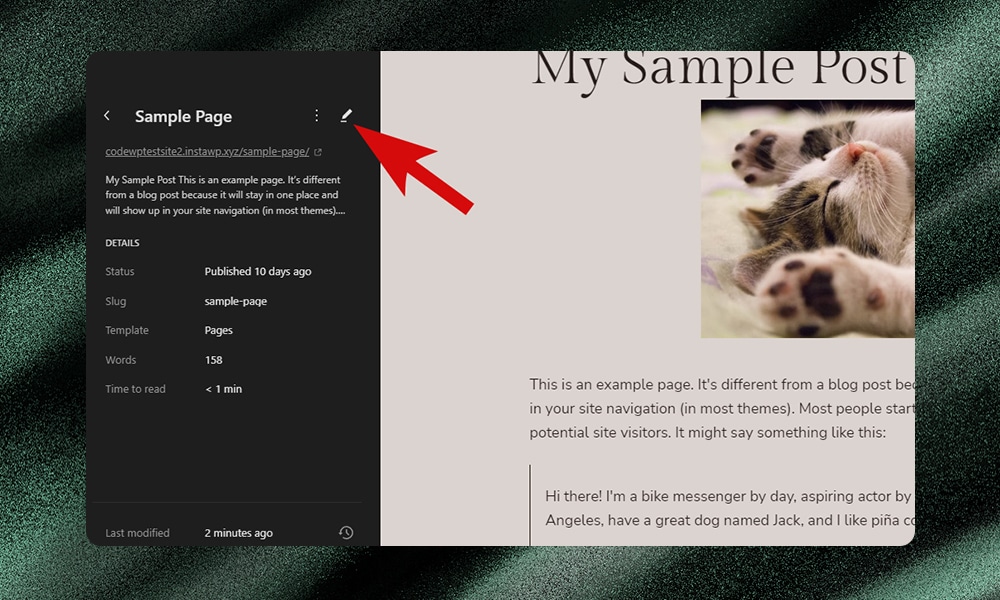
Once again, head to Appearance > Editor and select 'Pages' from the left menu. Choose a page you want to modify from the list. Click on the pencil icon to access the editing tools.

Now, you can reshape your layout using blocks. You can add new blocks, rearrange existing ones, or modify the style to achieve the desired look and functionality.

Once you're satisfied with the changes, simply save your work. Your new single-post template is now live.
Changing Global Styles
Changing global styles allows you to shape the overall look and feel of your website. You can access this at the top right portion of the editor (it should look like a half-black half-white circle). All the settings for adjusting the color palette, typography, layout, and background can be found here. There’s also an option to change the styles either for the individual blocks or for the entire website.
Note: The available styling options may vary depending on your chosen theme.
Changing the Color Palette:
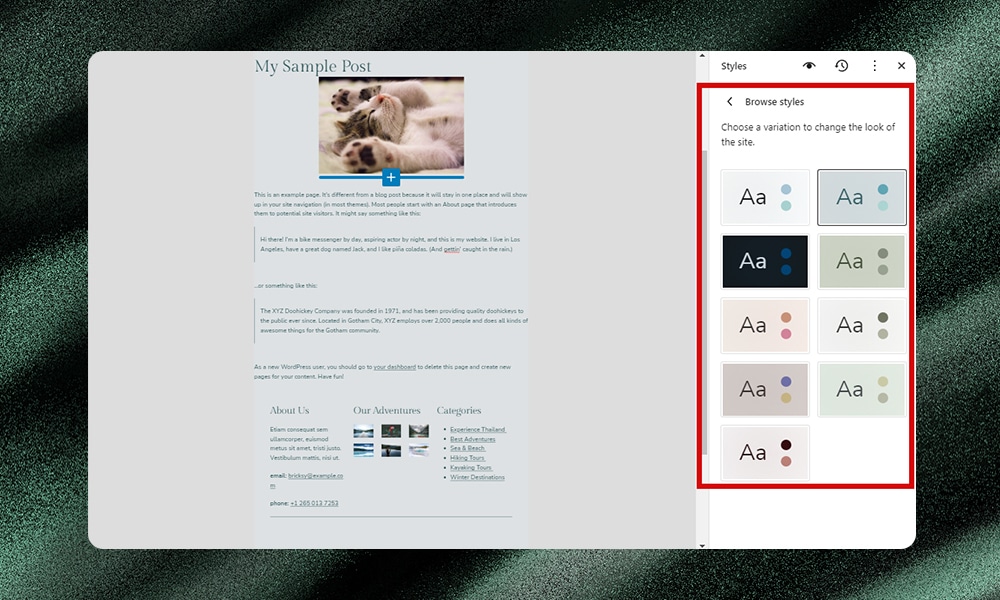
The color palette sets the tone for your website's visual identity. To modify it, just go to the ‘Styles’ section in the editor. You can explore predefined color options or create your custom palette. You can also go to the ‘Browse styles’ tab and select which best expresses your brand's personality.
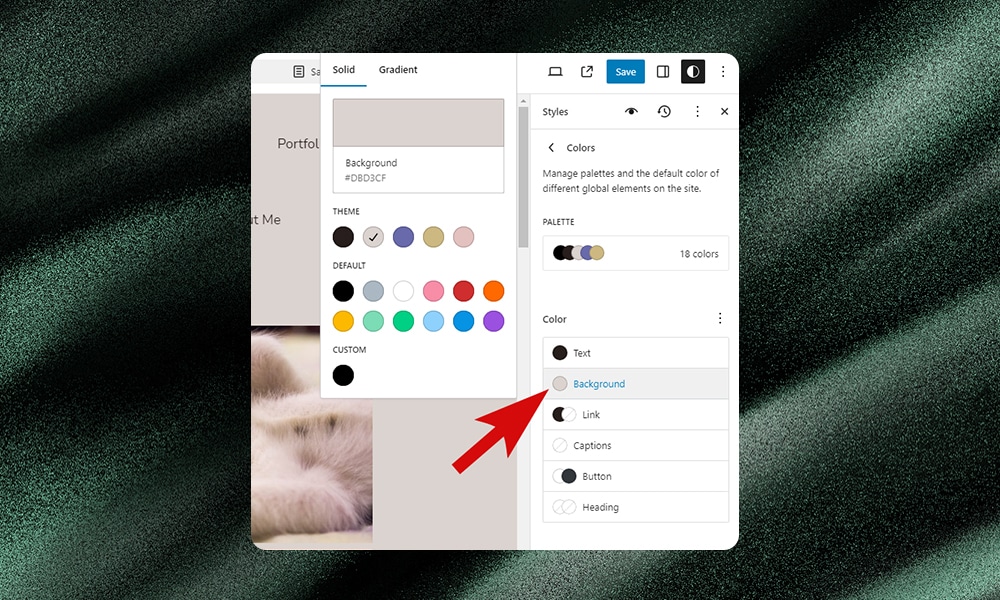
If you want to edit the colors, go to Styles > Colors > Palette. Add more colors, select solid or gradient colors - it’s up to you. You can also modify the background color if you don’t like the default one in the palette.
Choosing a Typography:
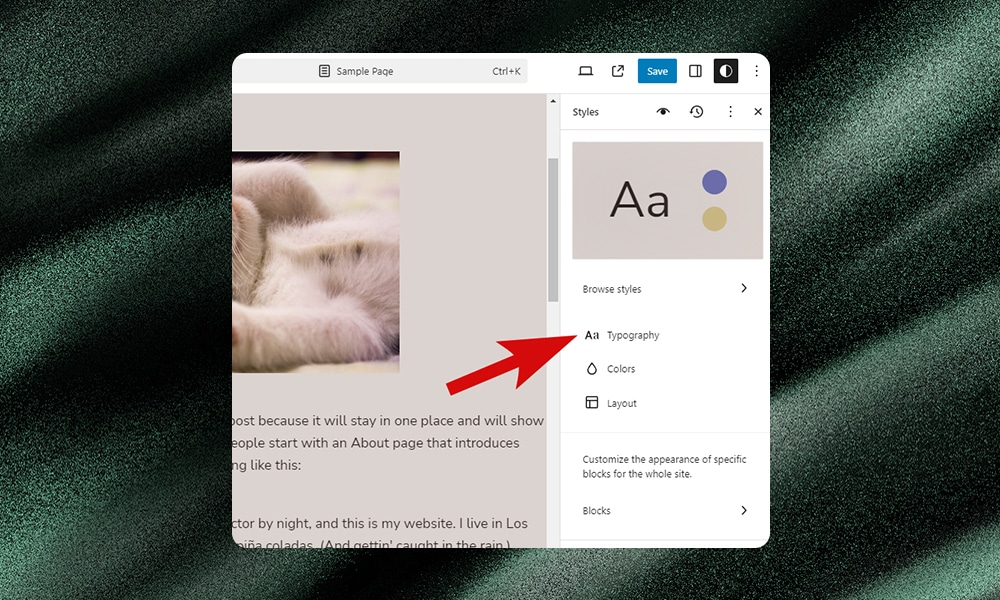
Typography enhances readability and adds personality to your website's content. To enhance your font settings, click on the ‘Styles’ panel and select Typography.
You should find a list of different font styles - choose one that best fits your brand. You can also adjust other attributes like the sizes and line spacing. Experiment with different font combinations to find the perfect balance between aesthetics and legibility.
Adjusting Spacing and Layout:
Spacing and layout contribute to the overall visual hierarchy and user experience of your content.
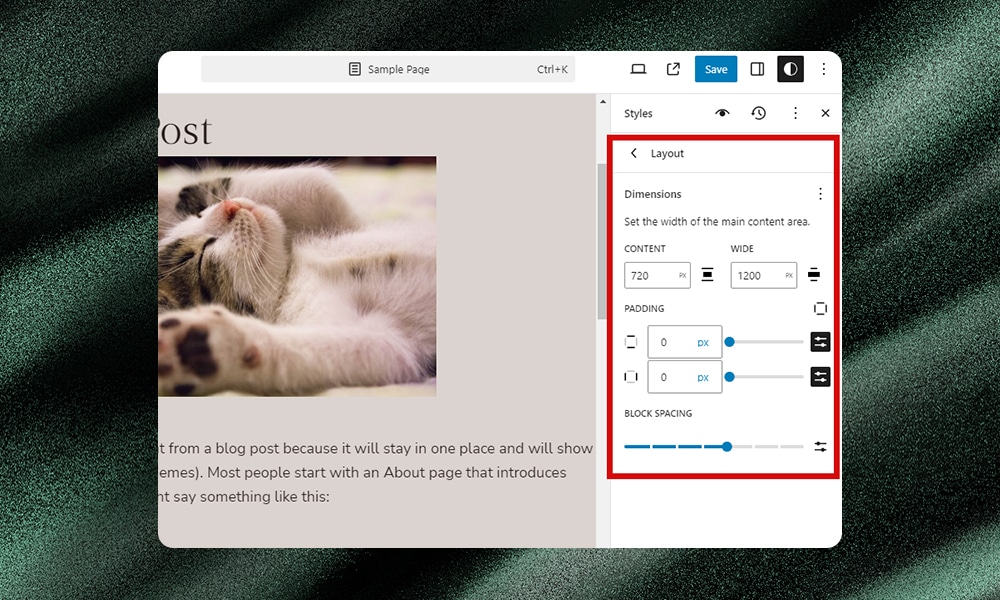
Back to the ‘Styles’ panel, click ‘Layout’ to access the options for adjusting the margin and padding of each element. You can also customize the layout settings to control the arrangement of content on your pages.
Exporting Your New Theme
Sometimes you might want to save your customizations and export it as a theme to share with others.
To do so, open the template you want to export on the editor. Click on the three dots located at the top right portion of the page.
Within the dropdown menu, you should find an option to export your current setup as a theme. Click on this option to initiate the download process.
Note: Before finalizing the export, it's a good idea to test the theme to ensure that all customizations are intact and functioning as expected. Save any changes you’ve made, and then preview the theme on different devices and browsers to verify its compatibility.
WordPress Full-Site Editing - Our Final Thoughts
After exploring the Full Site Editing feature in WordPress, we can confidently say that it outshines the traditional ways of building websites on the platform. True to its promise, the new feature empowers anyone to take customization into their own hands - and it nailed that vision almost perfectly
However, it’s not without growing pains. For example, developers might run into compatibility issues with existing themes and plugins as they adapt to this fresh approach. There's also a learning curve involved, especially for those deeply entrenched in the traditional WordPress workflow.
Despite these challenges, we can't help but appreciate the modular design and boundless flexibility that FSE brings to the table. We're pretty sure that as it continues to evolve, it will only get better and more user-friendly over time.