

A well-organized development workflow is often the cornerstone of a successful WordPress website. It facilitates efficient updates, ensures the delivery of error-free content, and enhances team collaboration.
It also helps developers avoid common pitfalls such as project delays, compromised site performance, and ultimately, a less satisfactory user experience.
Therefore, as a developer, it’s critical to understand what a WordPress development workflow looks like and how to implement them effectively.
This article breaks down the concept of a WordPress development workflow as well as the best practices and key tools to optimize your process and achieve better outcomes.
Setting Up a Local Development Environment
Setting up a local development environment for WordPress is important because it provides a safe and isolated space to experiment, develop, and test websites. It is where you can catch bugs, test plugins and themes, and experiment with custom code before deployment.
Working locally also speeds up development since changes can be made and tested instantly. You don’t depend on internet speed or server response times.
Essential Tool Kits
There are many tools and configurations you can use to set up your local development environment. You can even make your own recipe depending on your specific needs or preferences.
For instance, if you prefer a dedicated environment for your projects, you can use a virtual machine. One advantage of this is that you can easily manage dependencies without conflicts.
Here are some of the popular tools you can use:
- VirtualBox: This is used to create a virtual machine on your computer to install and run another operating system.
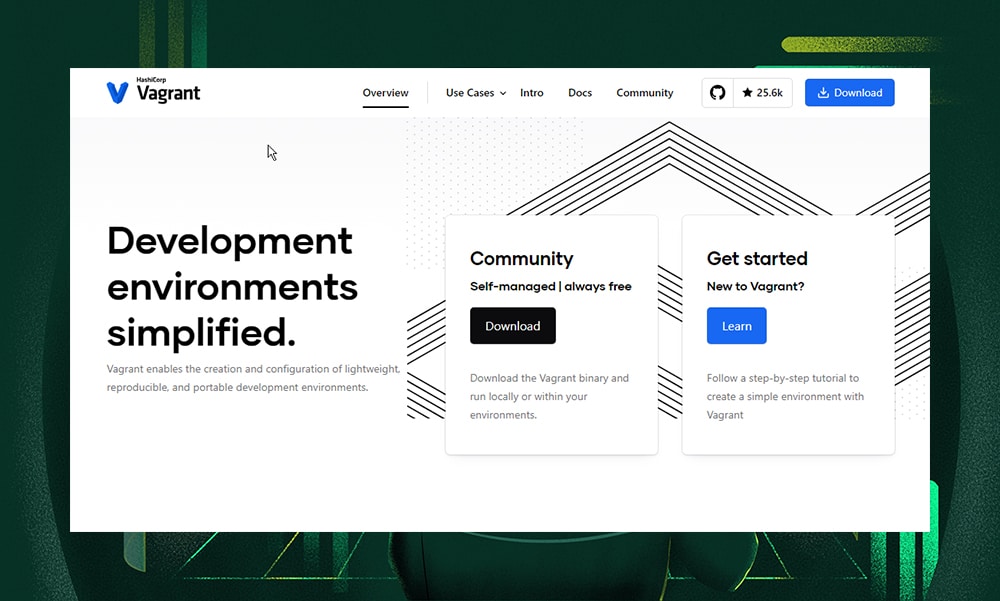
- Vagrant: This tool works with VirtualBox to help you manage virtual environments with simple commands. Best of all, it’s lightweight and comes with pre-built WordPress development boxes.
- Laravel Homestead: This is a pre-packaged Vagrant box that comes with all the software you need for a web development server.
If you’re not convinced with the tools above, here are some more you can look into:
- XAMPP: This lightweight, open-source development tool can be used to install any components of the stack you want. However, it’s not WordPress-specific, so you might have to manually set up and configure it yourself.
- WAMP: This tool is a bit similar to XAMPP, but it only works with Windows operating system. It’s lightweight and free. However, it can be overwhelming for beginners since it requires manual installation of WordPress.
- Docker: Just like Vagrant, Docker allows you to set up multiple local WordPress sites. But instead of using a virtual machine, you’ll have containers. These are lightweight, standalone packages that include everything needed to run an application.
- Laragon: This tool is user-friendly and provides an easy way to manage web development environments. With Laragon, you can set up containerized environments with less hardware resources. Installing WordPress and other software is pretty straightforward, too, thanks to its one-click feature.
- Laravel Valet: If you prefer a macOS-exclusive development environment, then this is your go-to. This tool runs Nginx in the background automatically and requires little RAM storage. It also allows easy sharing of local sites and is overall easier and faster than XAMPP or Vagrant.
Version Control
Version control is an important practice in web development because it allows teams to manage updates and modifications efficiently. This way, developers can work on the same project without conflicting with each other's changes.
There are three main types of version control systems:
- Local Version Control Systems: These systems keep track of file changes on your local computer. It's the most basic form of version control, where each change is stored as a complete file rather than just the differences from the previous version.
- Centralized Version Control Systems (CVCS): In this setup, versions and revisions are stored in a central server. Developers check out files from that central place, which helps in easier collaboration among team members. Examples are Concurrent Versions System (CVS), Subversion (SVN), and Perforce.
- Distributed Version Control Systems (DVCS): Here, every contributor has a complete copy of the entire repository, including its history, on their local machine. This means each clone is a full backup of all the data. Git is the most popular example of DVCS.
Git is commonly used in WordPress development. This version control system allows developers to collaborate efficiently, manage code changes, and revert to previous states of a project without the risk of losing any work.
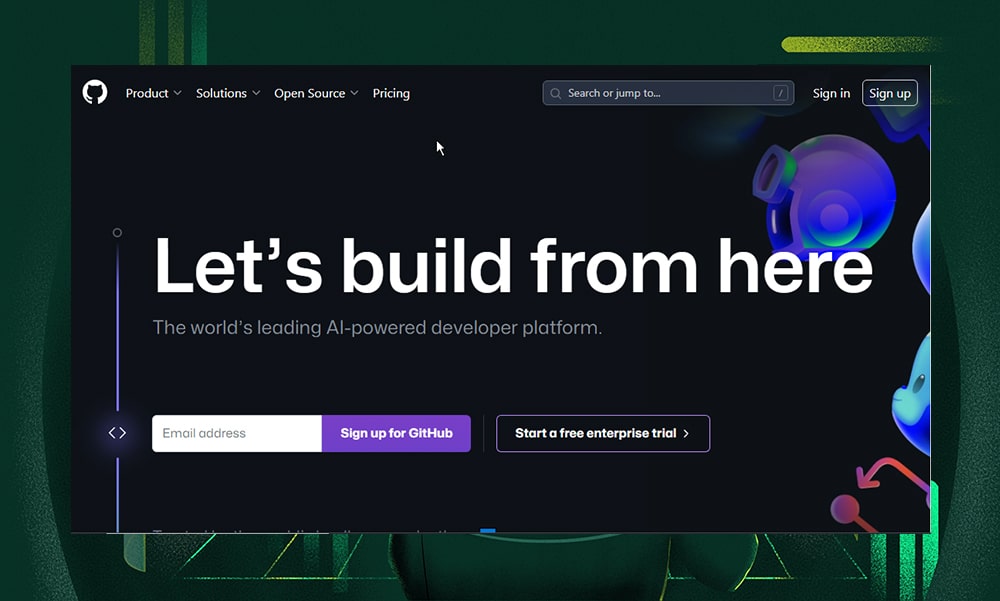
Git’s distributed nature also means that it's more resilient to server failures. The most popular platforms for hosting and managing Git repositories are GitHub, Bitbucket, and GitLab.
Coding Standards for WordPress
Imagine you're handed a WordPress project halfway through its development. You brace yourself for the usual jumble of code, but instead, you find a neat and beautifully organized codebase. That’s the beauty of following a coding standard.
A coding standard is a set of guidelines that covers everything from how to name your variables and functions, to how you should structure your files. For any web development project, including WordPress, following a coding standard is important. It ensures your code is easy to read, understand, and maintain - not just by you, but by anyone who might work on the project in the future.
Moreover, standardized code is easier to debug and reduces confusion, saving time and effort in the long run.
Here are a few practices to follow to improve the quality of your code:
- Use Linters and Code Review Tools: Linters can automatically check your code for errors and consistency. For instance, tools like ESLint for JavaScript or WPCS for WordPress coding standards can highlight issues as you code. On the other hand, code review tools like GitHub or Bitbucket facilitate discussions about code changes so you can collaborate and maintain code quality with ease.
- Write Clean and Maintainable Code: Organize your code logically and comment generously. Tools like PHPDoc for PHP can help document your codebase so that other developers (and your future you) can easily understand and maintain it.
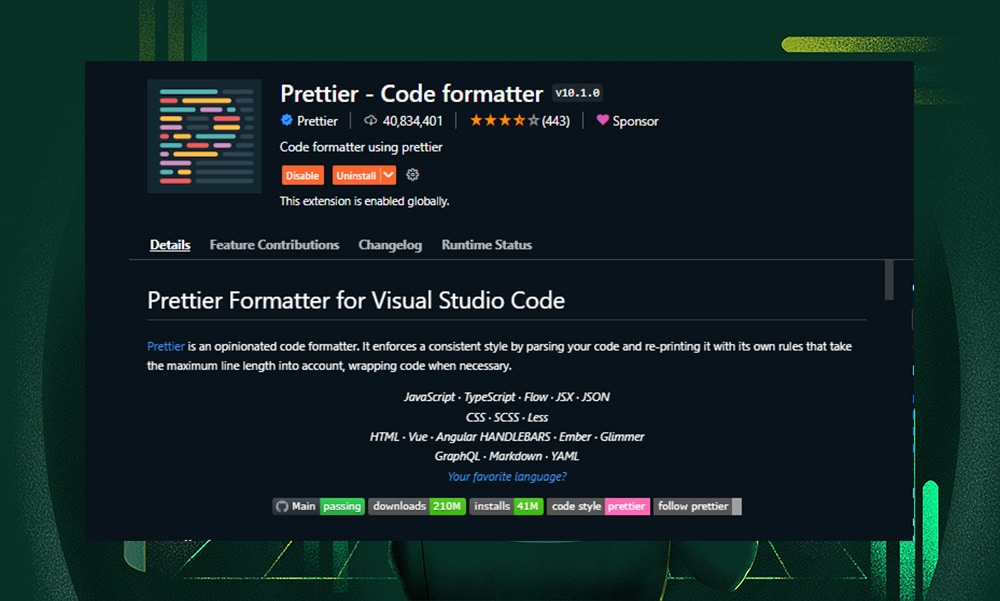
- Follow a Consistent Coding Style: Stick to a consistent style to make your codebase more navigable and less prone to errors. Tools like Prettier and EditorConfig can help maintain a consistent style across the entire codebase, regardless of who writes the code.
Managing Themes and Plugins
Bloated websites often suffer from slow performance, usually because of unnecessary features from themes or plugins.
This is why it’s extremely important to manage these elements, as they can hurt the site’s SEO and user experience.
We’ve summarized some of the best practices below to maintain your site’s performance, security, and maintainability:
- Maintain a logical folder structure. This practice makes it easier to navigate and maintain your code.
- Follow a descriptive naming convention for themes and plugins to avoid conflicts and enhance clarity.
- Periodically review and audit your themes and plugins to remove or update outdated, unused, or insecure items.
- For theme customization, always use child themes to ensure updates don’t overwrite your customizations.
- Regularly update themes and plugins to secure your website from vulnerabilities.
- Only keep necessary plugins and themes active to minimize potential security risks and improve site speed.
- Use a license manager to securely store and manage license keys for premium themes and plugins. Some of the most popular options are Appsero, Freemius, and Elite Licenser.
Staging Environment
A staging environment is like a sandbox for your WordPress site. It's where you test everything before showing it to the world.
This setup is important for several reasons.
First, it allows developers to conduct thorough testing and quality assurance checks. Whether it's a new theme, plugin, or a major update, the staging environment is the test bed to ensure everything works as intended. It’s where you can catch bugs, compatibility issues, and other potential problems that could disrupt the functionality of the live site.
A staging environment also supports pre-deployment checks. This simply means the team involved in the project can thoroughly test the site without exposing unfinished work to the end-users.
Setting Up Your Staging Environment
Setting up a staging environment for WordPress is simpler than you might think. Here's a simple guide to get you started:
1. Choose a hosting provider with staging support. Many WordPress hosting providers offer built-in staging environments. Look for hosts like WP Engine, SiteGround, or Bluehost, as they provide easy-to-use staging features.
2. Once you've chosen a host, the next step is to create your staging site. This is typically done through your hosting dashboard. Look for an option labeled "Staging" and follow the prompts to clone your live site.
3. After creating your staging site, you'll be given access to this environment. You can then start making changes. Update plugins and themes, or try out new code. This is your safe space to experiment and fix issues.
4. Once you're satisfied with your changes and have thoroughly tested them, it's time to push them to your live site. Many hosting providers offer a simple way to do this directly from the staging environment dashboard.
5. Keep your staging site synced with your live site's content and settings. Doing so will ensure that all tests are accurate and reflective of the live environment.
Automating Compilation and Testing
Automated testing in WordPress refers to handling repetitive tasks such as compiling code, running tests, and setting up environments. This approach enhances efficiency, minimizes the likelihood of errors, and ensures a high standard of quality before updates are applied to the live site.
We’ve listed a few tips below on how you can incorporate automation to optimize your testing procedures:
1. Use Build Tools for Compiling Assets
- Gulp: This powerful tool automates tasks like minifying CSS and JavaScript files, compiling SCSS to CSS, and optimizing images. It's customizable and works by writing simple tasks in a gulpfile.js. Start by installing Node.js, then Gulp via npm, and set up your tasks to run automatically.
- Webpack: This is another tool you can use for managing assets. Webpack requires some configuration upfront but is highly powerful for larger projects.
2. Automate Testing
- PHPUnit: For PHP code, PHPUnit is the go-to for unit testing. It ensures your functions and classes work as expected. You can integrate PHPUnit tests to run automatically in your staging environment for each update.
- WP CLI: The WordPress Command Line Interface (WP CLI) can automate many WordPress tasks, including running tests or deploying updates. Use it to streamline your workflow.
3. Incorporate Continuous Integration (CI) and Continuous Deployment (CD)
Use tools like Jenkins, Travis CI, or GitHub Actions to test codes every time you commit changes. They can run your compile tasks, PHPUnit tests, and even deploy changes to staging or production environments based on your pipeline setup.
4. Automate Browser Testing
- Selenium: This open-source tool helps you test your website across different web browsers and devices. Selenium can automate testing for complex user interactions on a WordPress site, such as filling out forms, navigating through pages, or testing responsive design. This ensures that every aspect of your site functions as intended before going live.
- Cypress: This is a newer tool that’s gaining popularity for end-to-end testing, especially easy to use for JavaScript-based projects. Unlike Selenium, it works directly within the browser. It also offers a lot of features, like interactive test debugging, real-time testing, automatic waiting, and comprehensive support.
Production Deployment
Let’s say you’re working on a team. Prior to deployment, your workflow might look something like this.
First, you upload the latest code changes from your local repository to your staging server via Git.
Then, you manually migrate any changes made to the database to the staging server. You’d also move content like pages and posts, theme-specific settings, and widgets.
Note: There are several tools you can use to export/import your content and widgets. For the content, you can use the general WordPress exporter. For custom widgets, you can use the Widget Importer & Exporter plugin.
Now, after verifying that everything works as intended, you’re ready to push the tested code from the master branch of your local repository to the production environment. This is the final setting where your website is fully operational and accessible to its end-users.
If you need to make huge changes to the database, you can use a built-in tool accessible within your hosting’s dashboard.
For smaller changes, you won’t need any special tool since it can be done manually. Simply export the changes from your staging site and then import them into your live site's database. This keeps your live site updated without needing extra tools for the little tweaks.
Backup and Versioning
Now you’re done with deploying updates to the production environment. The next and final step is to implement a robust backup strategy.
This step is crucial because it ensures you have a recent copy of your website that can be restored in case of data loss, hacking, or any other unforeseen issues. Regular backups also protect your site's content, themes, plugins, and database.
You have the option to manually back up your WordPress website - simply copy all its files and export its database through the hosting control panel. Doing so gives you full control over what gets backed up and when, and the ability to store the backup in a location of your choice. However, it's time-consuming and requires technical knowledge to restore the site properly.
So, the best option is to use automated backup tools. They often include features like scheduled backups and secure storage off-site. Some of the best tools we recommend are:
- UpdraftPlus: This plugin offers a user-friendly interface and comprehensive backup options, including scheduled and on-demand backups that can be stored across multiple cloud storage services.
- VaultPress: This tool offers real-time backup and security scanning as part of the Jetpack plugin suite. This means as soon as you make changes to your site, VaultPress backs them up, and it continuously scans for and fixes security vulnerabilities.
- Duplicator: This tool allows you to easily clone and migrate WordPress sites. This feature is particularly useful for developers who frequently move sites to different servers or domains.
To Sum Up
A well-structured WordPress development workflow is important for creating, testing, and launching websites efficiently and effectively.
In this article, we’ve highlighted the key stages of development, from setting up a local development environment to deploying changes to the live site.
Now, as you move forward, focus on refining these processes. Embrace continuous learning to keep up with WordPress developments and always prioritize quality and security in your projects.
We hope this guide helps you work smarter and make your WordPress sites more reliable and successful.