
Blogging seems to be one of the easiest jobs until you have to do it.
Thankfully, today’s AI-powered writing tools can make writing faster and more efficient than ever. You don’t have to spend hours staring on the blank white screen and wonder how to begin. With a few prompts, AI can generate ideas, create outlines, and even draft sections of your content. That’s mind-blowing!
Wondering how to write a quality blog post using AI? Read on. We’ve prepared a few simple tips to help you write faster and better with AI writing tools.
Tools You’ll Need to Write a Blog Post
Writing is an art. But like any good artist, you need to make sure you have all the tools you need to write efficiently.
Consider these essentials before writing an AI-assisted WordPress blog post:
1) Keyword Research Tool
Keywords are the cornerstone of effective blog writing. They act as the bridge between what your audience is searching for and the content you provide. By adding the right keywords and phrases to your blog posts, you’re making your website more visible on search engines.
There are special tools that can help you achieve this. Some of the most popular ones are Ahrefs, Semrush, Moz Pro, and Google Search Console. While most of them are not free, they’re definitely worth the investment, especially when you’re gearing up to write that killer blog post.
Now, what about ChatGPT? Yes, you can use it to brainstorm ideas. However, it doesn’t provide real-time search data and important metrics that can help you perform effectively in search results. Therefore, we highly recommend using a keyword research tool for the best outcomes.
2) AI Writer
Writing takes time. Even if you can type more than 80 words per minute, crafting a high-quality article can take hours or even days. Thankfully, we now have AI writer tools to speed up the writing process.
You can use ChatGPT, Jasper, Writesonic, or any other AI platform you prefer. But if you’re publishing an article on WordPress, plugins offer the best solution because they help you generate content quickly right on the editor.
Just keep in mind that AI writing tools are not meant to completely substitute human creativity and expertise. Use it as an assistant to generate suggestions, outlines, or even drafts for an entire article. But don’t forget to revise and add a human touch.
3) Plagiarism Detection Tool
Plagiarism detection tools ensure that your content is unique and free from unintentional plagiarism. Use it to scan your content against a vast database of published work to identify any similarities or copied content. By doing so, you can maintain the integrity and credibility of your blog.
Some of the best ones we recommend are Grammarly, Plagiarism Detector, Quetext, DupliChecker, and Scribbr.
4) AI Image Generator
Content is king. But adding visuals can make them even more interesting.
In the past, you might have reached for stock photos. However, they can feel a bit too generic and might not always capture your brand’s voice. The alternative is hiring a graphic designer or taking your own pictures. But they require both time and money.
With AI, you don’t have to spend a lot of time and money to produce eye-catching visuals for your content. There are tons of AI image generators out there. Most of them are even compatible with WordPress. You just feed in your specific requirements and the AI will generate the images tailor-made for your blog.
In a separate article, we’ve reviewed some of the best AI image generator plugins for WordPress. Check it out to explore your options and elevate your blog's visual appeal
Steps to Write a WordPress Blog Post Using AI
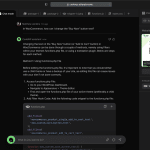
In this guide, we’ll be using AI Engine to write a blog post.
AI Engine is a WordPress plugin developed by Meow Apps. It’s not just capable of generating content - it’s also great at producing high-quality images, translating text, and even working as a chatbot. This tool has both free and premium options, so anyone can start using it for their WordPress blog, regardless of budget.
Now, let's get into setting up your account and writing your first blog post.
1) Set Up Your Account
First, make sure AI Engine is installed on your WordPress site.
Next, you'll need an OpenAI account. Once you have it, copy your API key.
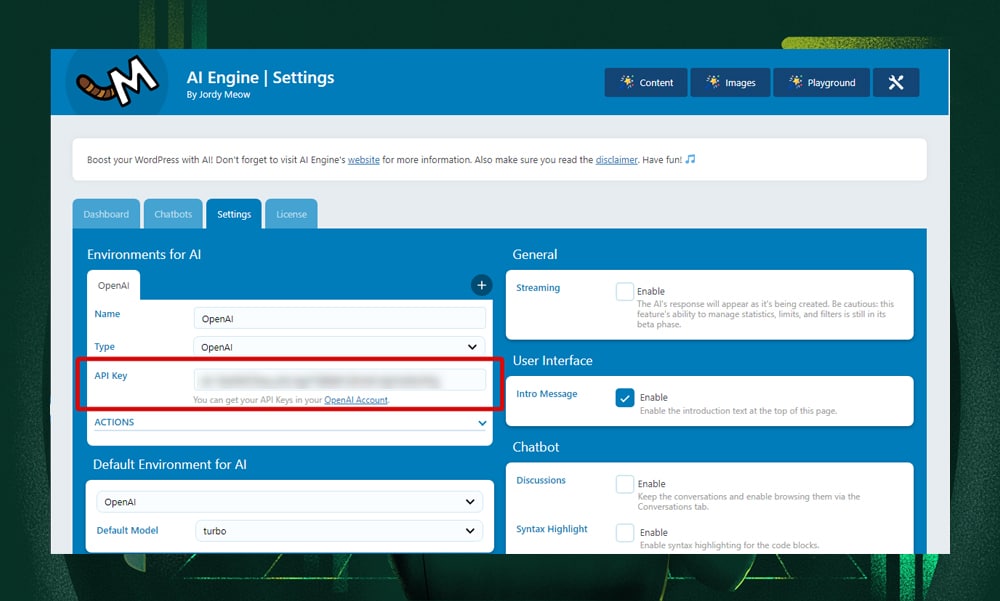
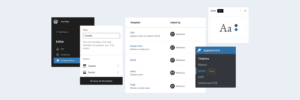
Head over to your WordPress admin dashboard, and navigate to Meow Apps > AI Engine. Click on the 'Settings' tab. Here, in the ‘Environments for AI’ section, paste your OpenAI API key. This step is crucial for activating the plugin’s AI features.
Under the settings tab, you can also enable useful functionalities like ‘Generate Content’ and ‘Generate Images’ to enhance your blogging experience.
2) Generate Content
Create new content by going to Posts > generate New in your WordPress dashboard.
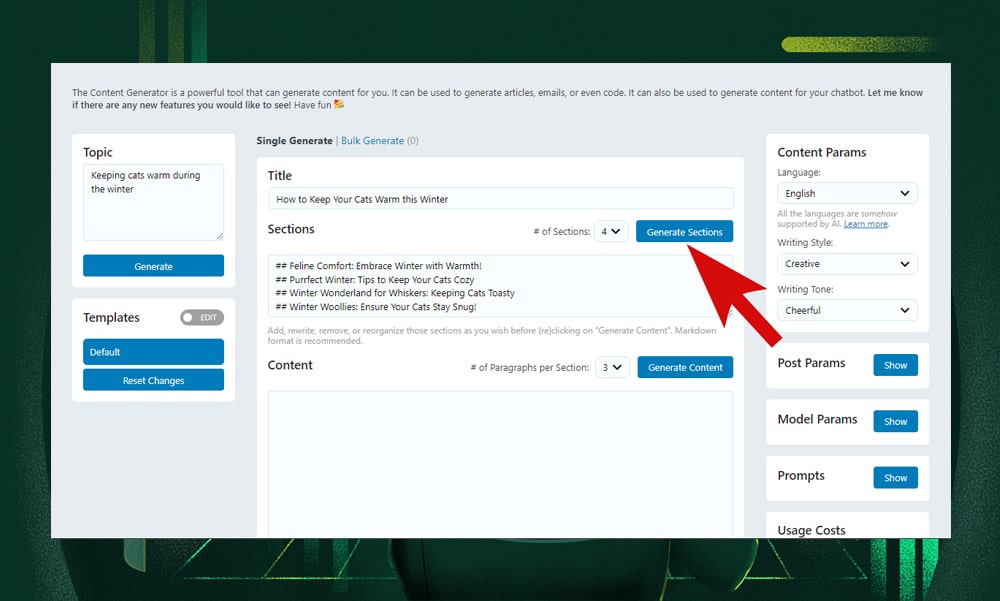
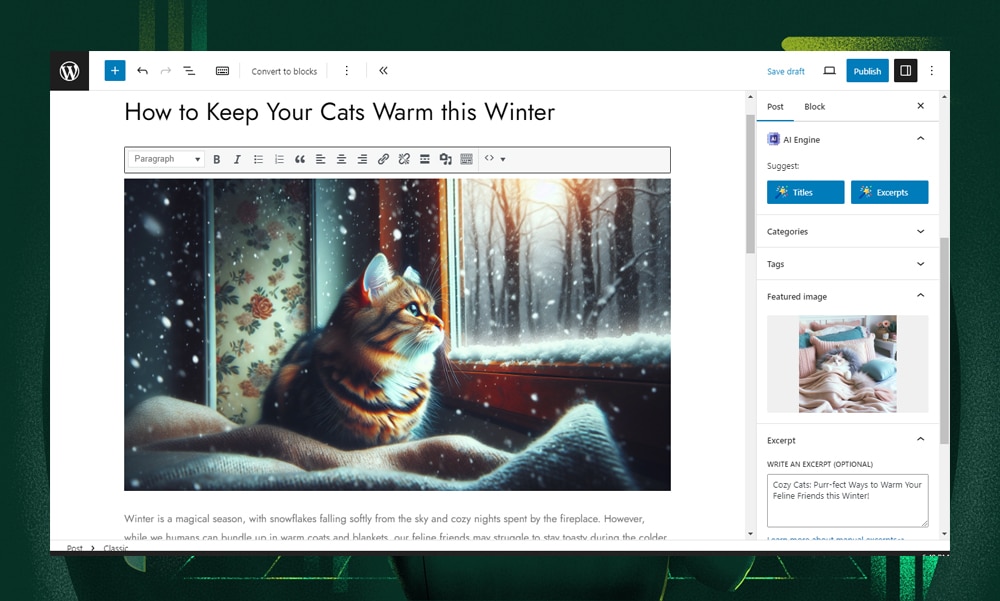
On the right side of the screen, you'll find options to customize your content. Choose your preferred language, writing style, and tone. For example, if you're writing about cats, you might select a creative style and a cheerful tone.
Next, enter a topic. Make sure to include relevant keywords. Once you hit ‘Generate,’ AI Engine will automatically create the title, sections, body, and post excerpt of your content.
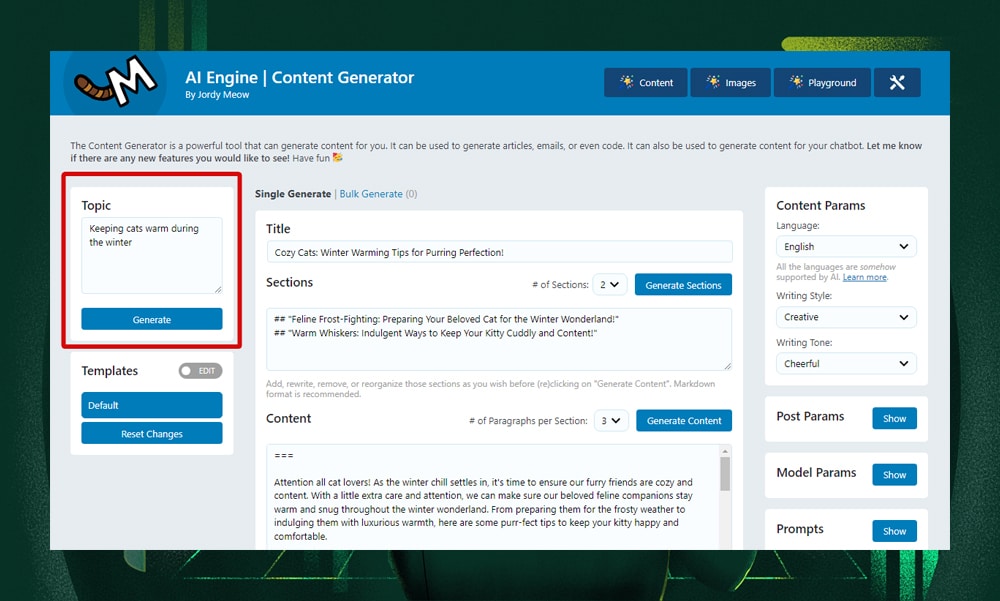
You can also manually set the title, the number of sections, and paragraphs per section. This is particularly useful for tailoring the length of your article, such as creating longer, in-depth posts.
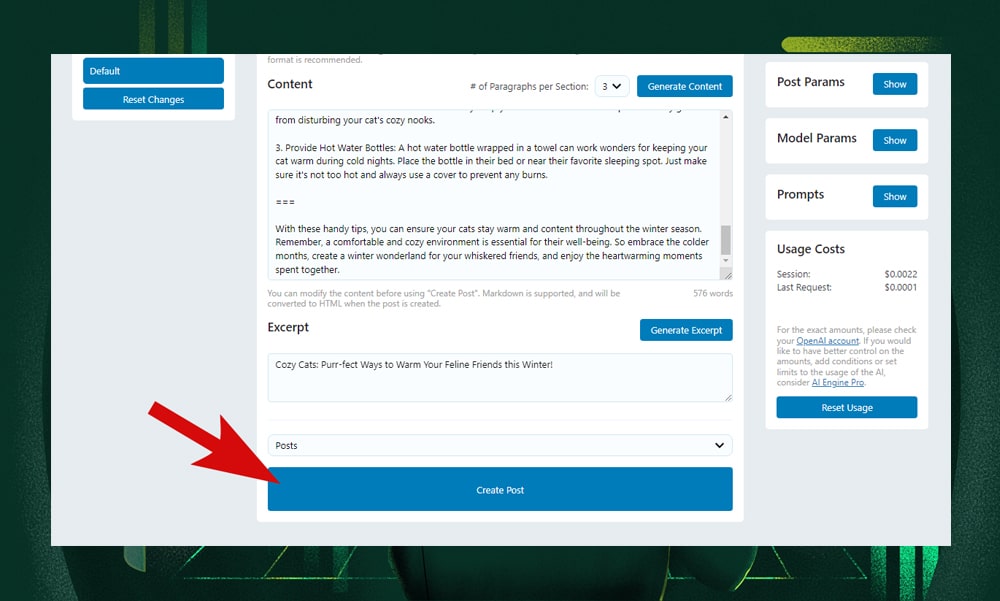
Then, feel free to modify the generated content. You can rewrite sections, remove unnecessary parts, or rearrange them. Once you're happy with the structure, click ‘Generate Sections.’ Apply the same process for the main content.
To create the post excerpt, simply click the ‘Generate Excerpt’ button and edit it as needed to capture the essence of your article.
You can also decide whether your content will be a post or a page. For this example, we'll go with ‘posts.’
After setting everything up, click ‘Create Post.’ Your article will be automatically saved as a draft.
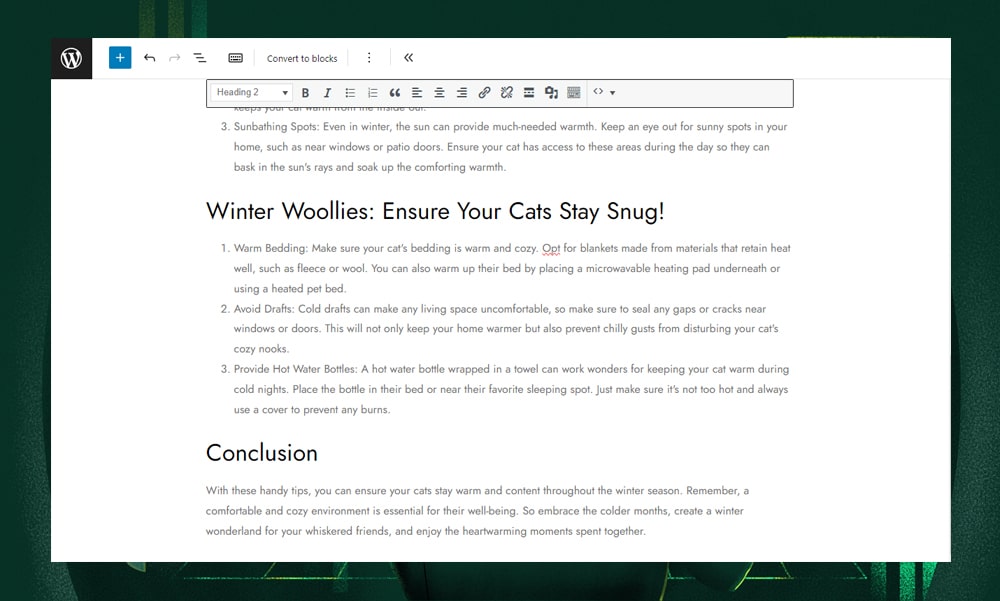
To access and edit your draft, navigate to Posts > All Posts in the WordPress admin. Your new article will be listed there. Click on it to make any final edits.
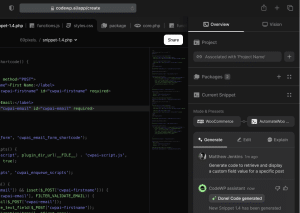
3) Generate Images
Creating images with AI Engine is super easy.
Once again, go to the AI Engine dashboard and select ‘Images.’ This is where you can customize the image settings to your needs. This includes choosing an image template, AI model, resolution, and style.
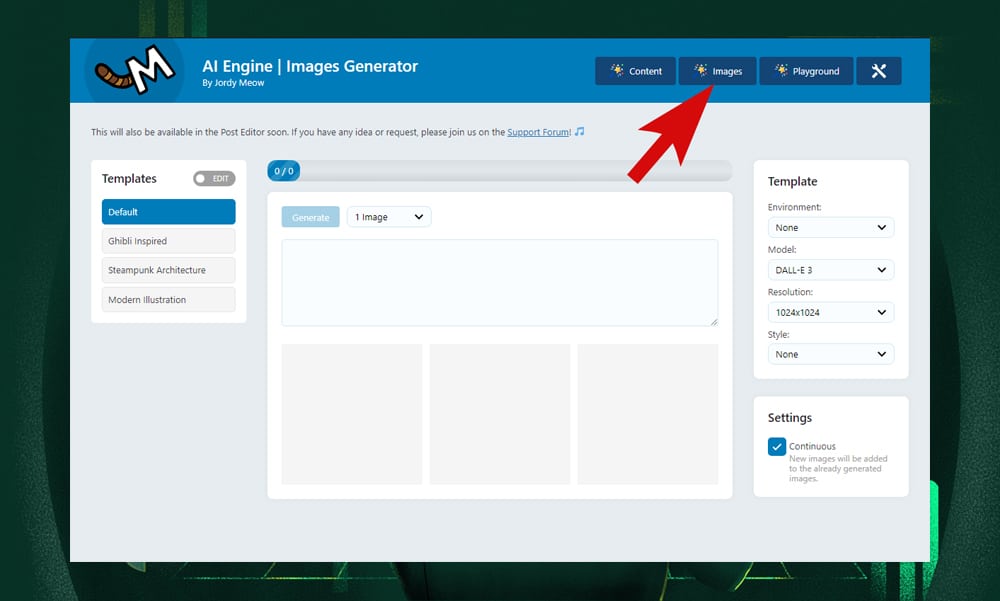
In the prompt section, describe the type of image you're looking to create. Be as detailed as possible to guide the AI. You also have the option to specify the number of images you want the tool to generate.
Once you've set your preferences, click ‘Generate.’ The AI will then create images based on your instructions.
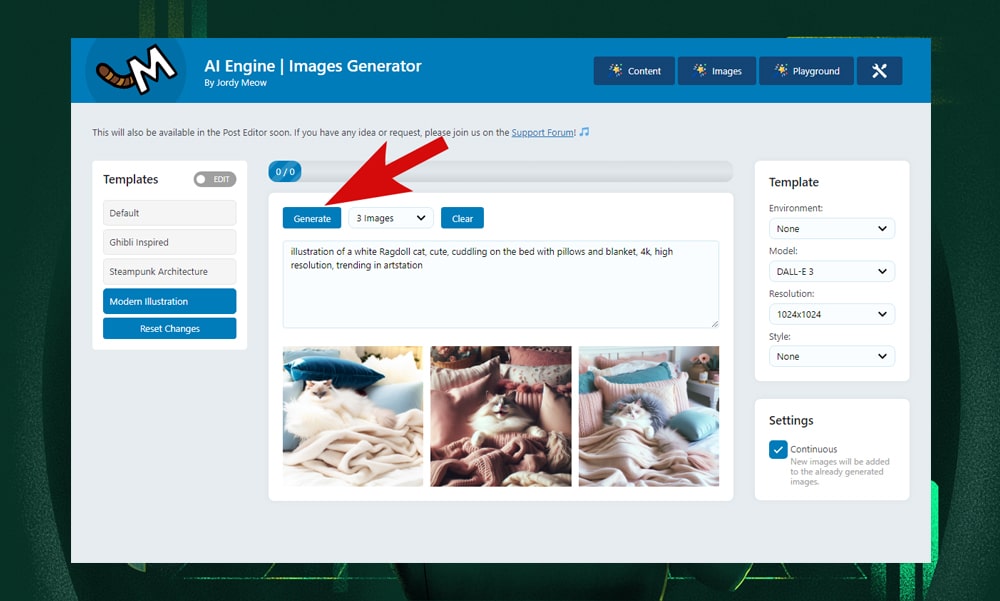
Browse through the generated images, pick the ones that best fit your content, and save them to your media library.
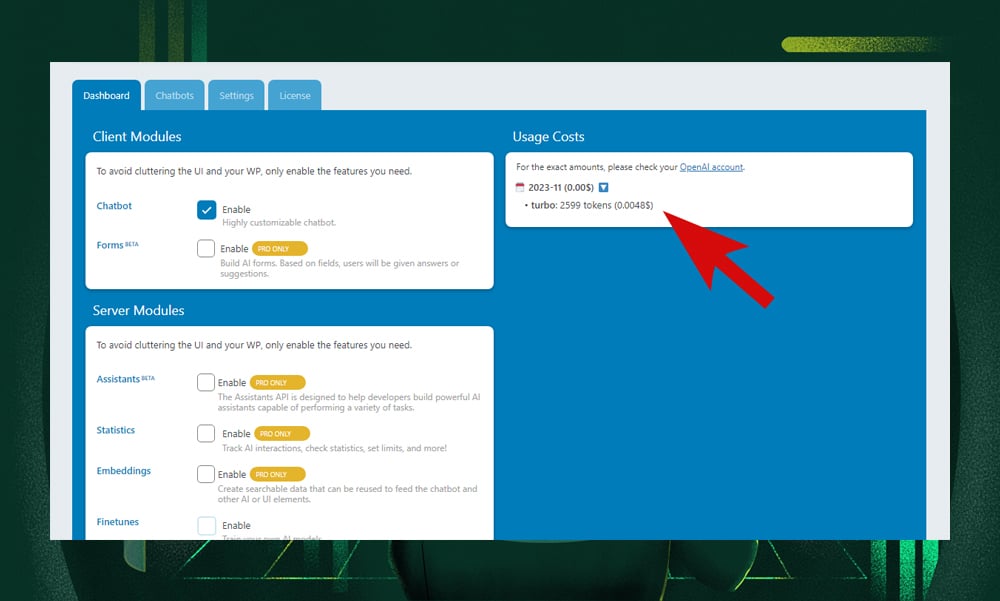
Remember, generating images with AI Engine uses tokens. For instance, generating a 1024px x 1024px image with GPT-4 Turbo costs about $0.00765. You can find more detailed pricing information on their pricing page.
You can also visit the Meow Apps dashboard to view the number of tokens you've used and keep track of your expenses.
4) Save and Publish
Now, go back to your draft and add the AI-generated images to your post. This is also a good time to select a featured image for your content.
Once everything is in place and you're satisfied with how your post looks, hit the publish button. Congratulations – you've just created and published your first blog post using AI!
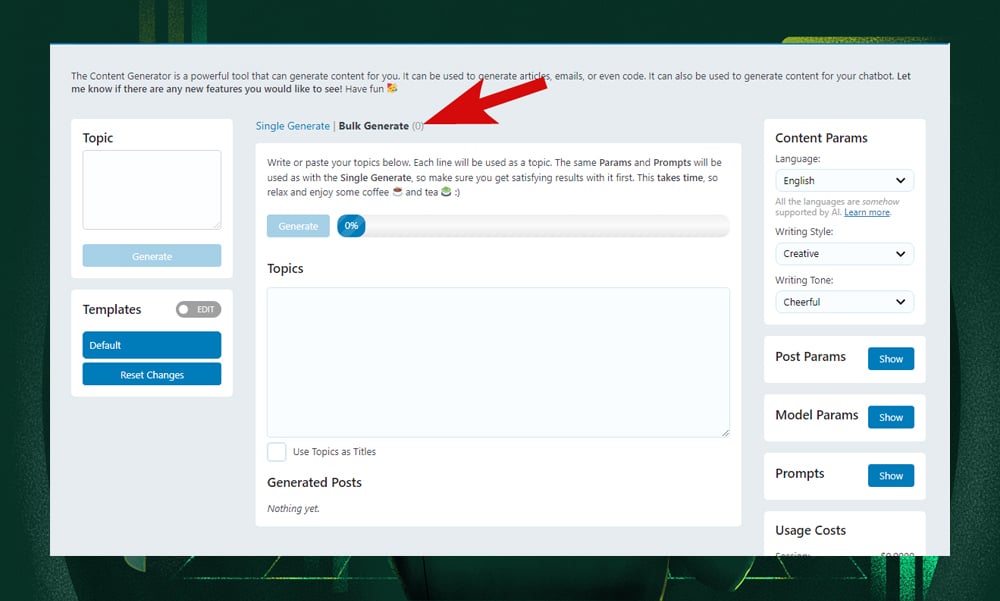
5) Generate Content in Bulk
If you want to ramp up your content production, AI Engine offers a convenient 'Bulk Generate' feature. You can find this option in the plugin’s content dashboard.
Here, you can input multiple topics you wish to write about and adjust the content parameters to suit each topic. Once you hit the 'Generate' button, the AI will generate the articles and automatically save them as drafts.
Keep in mind that these specific functionalities are unique to the AI Engine plugin. Different AI writing tools come with their own set of features and user interfaces. So, if you're exploring other AI writing tools, make sure to familiarize yourself with their individual capabilities and how they can fit into your content creation workflow.
Pros and Cons of AI Content
There are several reasons why AI writing tools are an attractive solution for businesses.
Anyone who’s spent enough time writing content will tell you how challenging it can be. You can struggle with writer’s block, competition, time pressure, and quality issues, to name a few.
And if you’re trying to scale up as a solopreneur or business, you’re limited with time.
With AI, almost all of these challenges can be mitigated. AI writing tools can generate articles, blog posts, and other written materials at a speed unmatchable by human writers. AI also brings a level of data-driven precision to content creation to enhance SEO and user engagement.
On the other hand, AI obviously lacks genuine creativity and human touch. Because a machine doesn’t have the nuanced understanding and emotional depth like human writers, it often generates content that feels generic.
According to Inovidia, AI-generated content is also reliant on existing materials online. So if you're not careful, you might face issues with originality and authenticity in your content.
Therefore, we don’t advise you to solely rely on AI but instead, use it as a helpful supplement.
Tips to Humanize AI Content
AI has made content creation easier and more accessible. But unfortunately, it can’t match a human’s creativity just yet.
AI writing tools are trained with varying forms of content and language models. So, they tend to produce phrases that don’t exhibit genuine emotions, opinions, or intentions.
If you rely on AI to generate content fast, here are a few tips to humanize them:
- Add your personal experiences or opinions. This helps create a deeper connection with your readers.
- Edit the content so that it aligns with your brand’s voice and tone.
- Make your content more conversational and less robotic.
- Instead of using generic facts, add specific data from a reliable source.
- Remove repeated phrases or words.
- Use AI content as your starting point. Then, gradually shape your content by adding relevant information and visuals to make it more engaging.
That’s A Wrap!
You’ve just learned how to write a WordPress blog post using AI.
That said, you don’t have to spend hours or even days to write an article. This frees you up, then, you have more time to focus on growing your website.
But as we’ve mentioned, you shouldn’t completely rely on AI to do all the writing. Instead, use it to handle the heavy lifting of content generation. Always add your personal flair to keep your blog relatable, engaging, and true to your voice. Pair AI with your creativity, and you’ll become unstoppable!