


So, you've got this static HTML site that's been working really well. But now, you're thinking about switching to WordPress for more flexibility and features.
The question is, where do we even begin?
If you have some experience with WordPress, PHP, and HTML, then the transition should be easy.
In this tutorial, we’ll walk you through exactly how to do that without losing your site's original style and layout. By the end, you'll have a WordPress site that's not just easy to manage but also refreshes and boosts your brand.
Prerequisites
Make sure you already have WordPress installed on your local machine or preferred hosting provider.
Installing WordPress is a straightforward process and should only take you a few minutes. However, you might find this a daunting task if you’re totally new to WordPress. But no worries, there are several tutorials available online to help you out.
Several hosting providers offer automatic WordPress installation. That means you only need to set this up on your hosting’s control panel. For instance, you can follow this tutorial on how to install WordPress on Bluehost.
You can also have WordPress directly installed on your computer. This setup is perfect if you just want to play around with the CMS software.
There are several localhost services you can use to install WordPress. Here are some of the popular options (click each link below to learn how to install WordPress locally):
- WAMP (best for Windows)
- MAMP (best for macOS)
- LAMP (best for Linux)
- XAMPP (best for Windows, macOS, or Linux)
Steps to Convert Your HTML Site to WordPress
For this tutorial, we’re going to use WAMP to access our WordPress site locally. We’ll also use VS Code to edit our theme. Feel free to use any localhost services or code editors based on your preferences.
Then, follow the steps below:
1) Create a New Theme Folder
First, you need to access the core files of your WordPress site. You can find this on your hosting provider’s file manager.
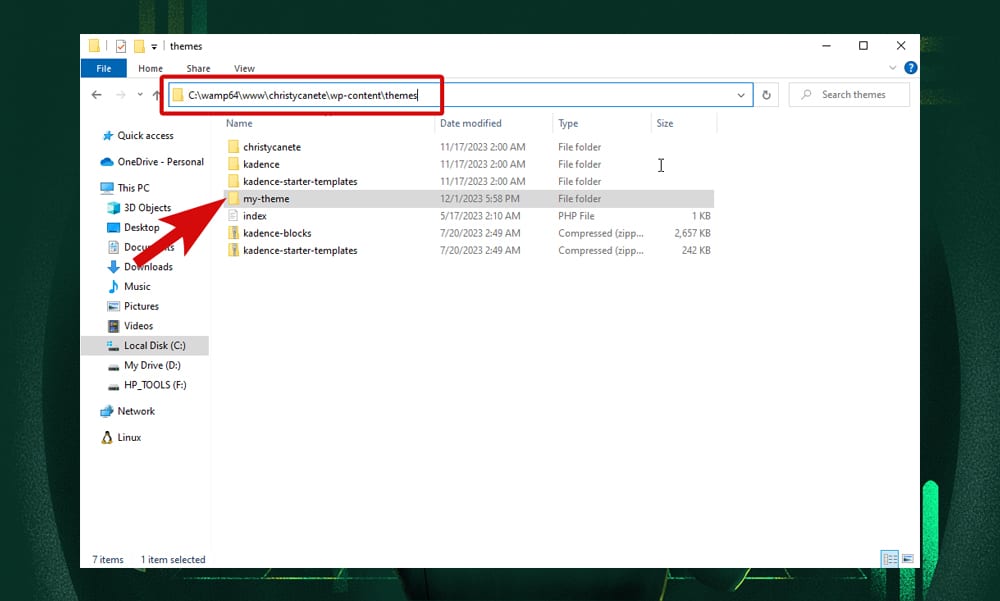
If you’re using a WAMP server, simply open the folder where you’ve installed your WordPress. The default location is C:\wamp64\www\your-website.
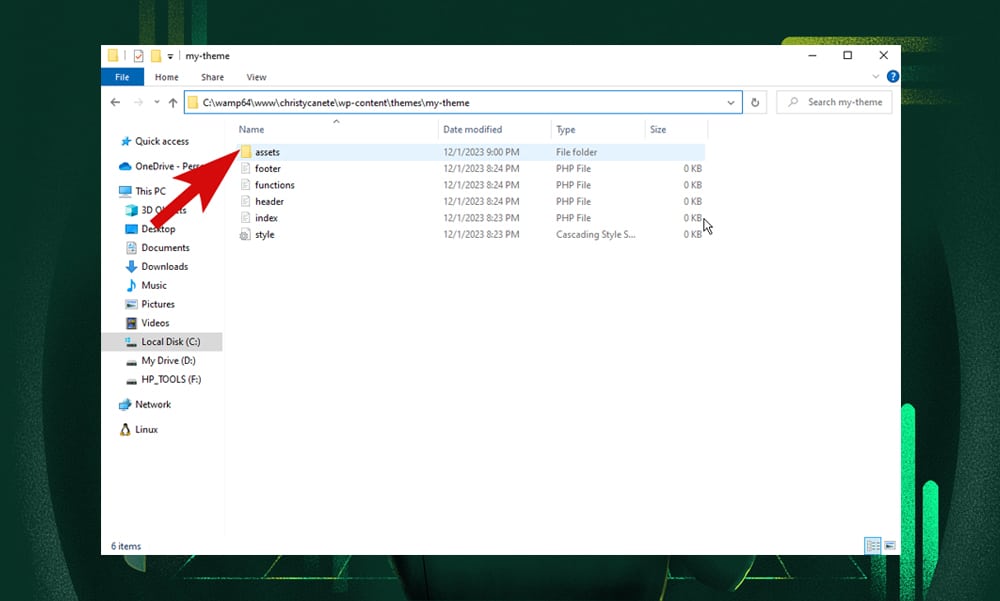
Then, go to wp-content > themes and add a new folder. We’re going to name this folder ‘my-theme.’
2) Create CSS and PHP Files
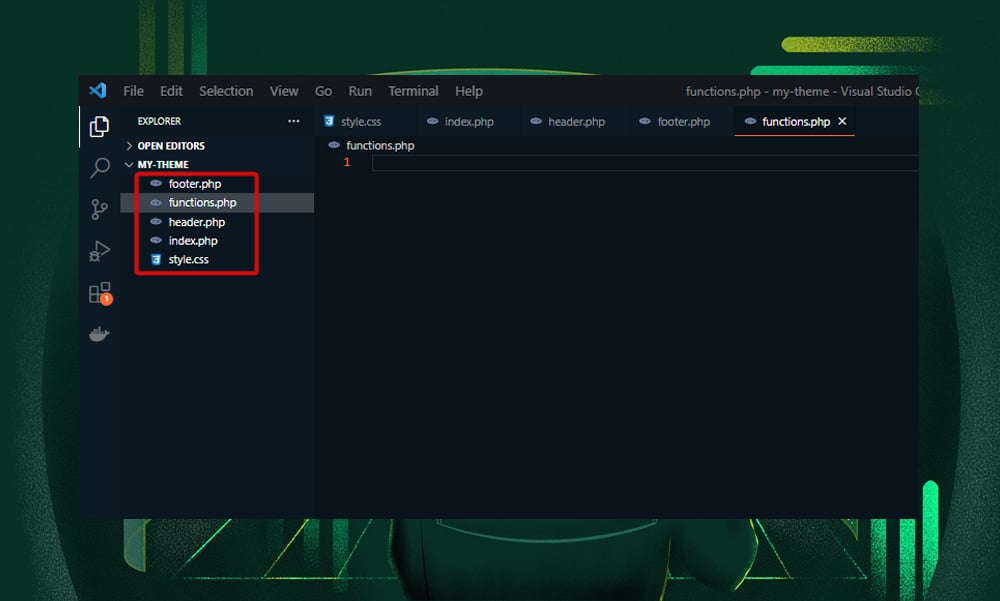
Next, we’re going to add the following files to our new theme folder (use your code editor to add these files):
- style.css
- index.php
- header.php
- footer.php
- functions.php
Later, we’ll add codes to these files. For now, leave them open in your editor.
3) Copy the Assets Folder
The assets folder typically contains the images, font styles, logo, CSS, and JavaScript files of your chosen theme.
For this example, we’ve downloaded a free template from Free CSS. Here’s an overview of what our template looks like:
Now, we’re going to extract the file, copy the assets folder, and paste it inside our ‘my-theme’ folder.
Your theme folder should now look like this:
4) Copy the Header, Body, and Footer Codes
Open the index.html file of your theme in the code editor.
The index.html file generally contains the HTML code of a website’s homepage. This includes the header, the main content body, and the footer. What we’re going to do is transfer each block of code to our PHP files.
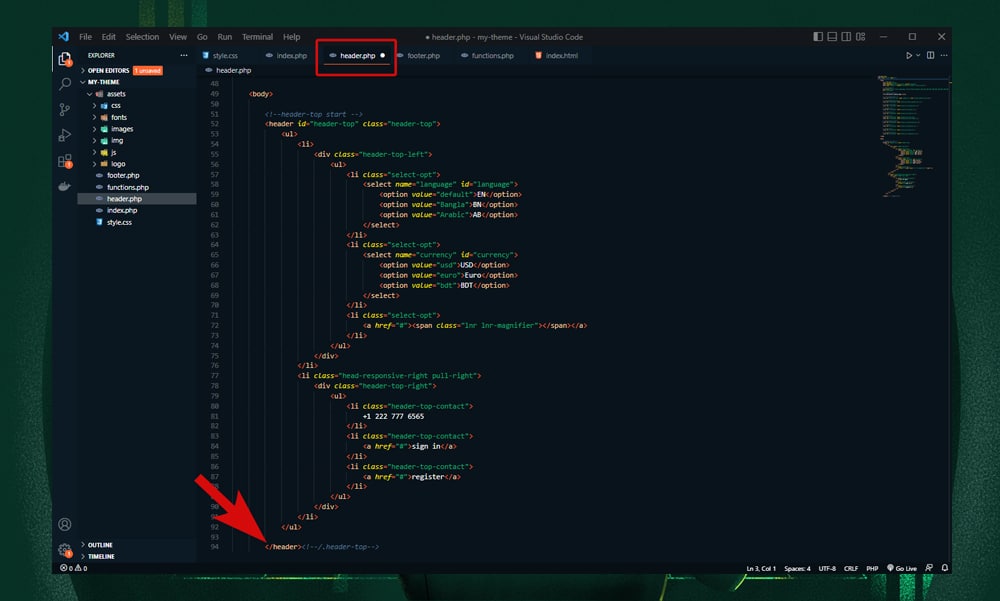
First, we’ll need to copy the header code. On the index.html file, highlight the code starting from <!DOCTYPE html> to </header> and copy it.
Note: Do not confuse the <head> tag with the <header> tag. These two elements are not the same.
Then, open the header.php file we’ve previously created and paste the code here.
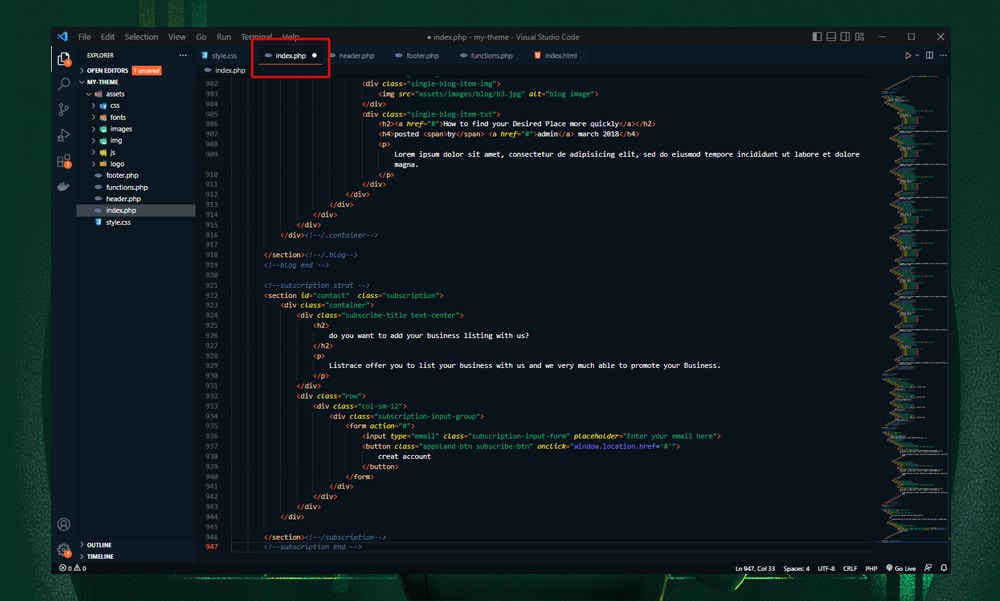
Next, copy the block of codes right after the </header> tag up to the line before the <footer>. This is your homepage’s main content. Open the index.php file in your theme folder and paste the code here.
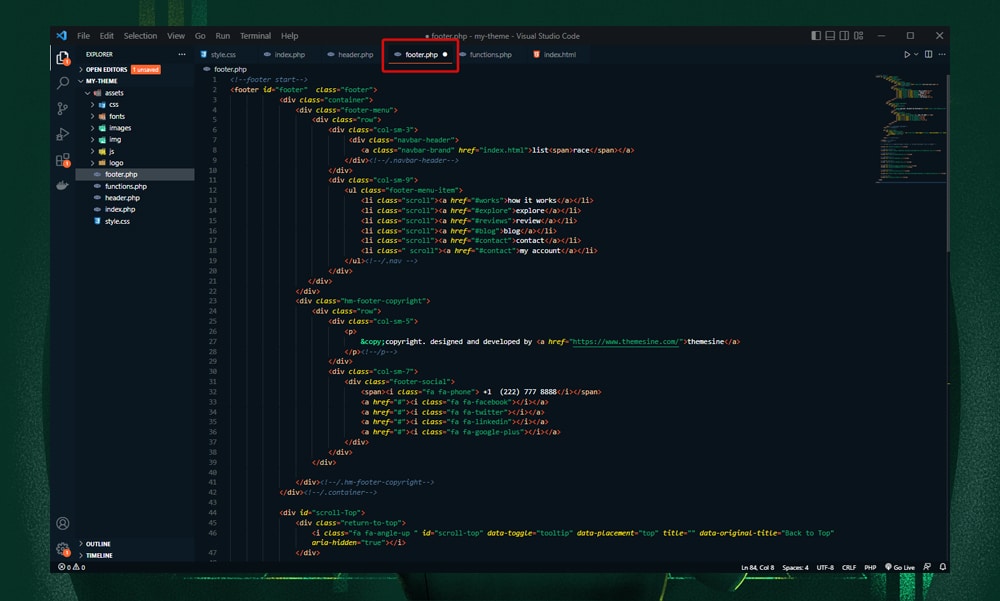
Finally, copy your site’s footer, starting from the <footer> tag up to the </html> tag. Paste this code into your footer.php file.
5) Add WordPress Functions
In WordPress, every part of a page is broken into separate files for better organization and reusability. So, instead of writing the same header and footer HTML codes in every template file, you’ll only need to write it once in the header.php and footer.php files.
Then, you simply call these files when needed. To do that, we’ll be adding the get_header() and get_footer() functions to the index.php file.
To add the header to our homepage, we’ll need to copy this code on top of the index.php code:
<?php get_header(); ?>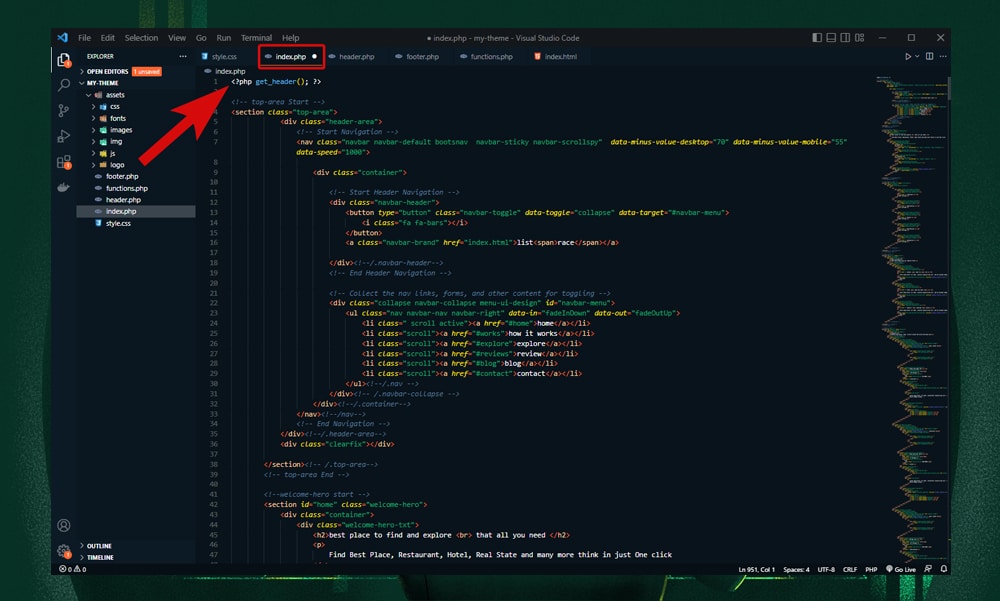
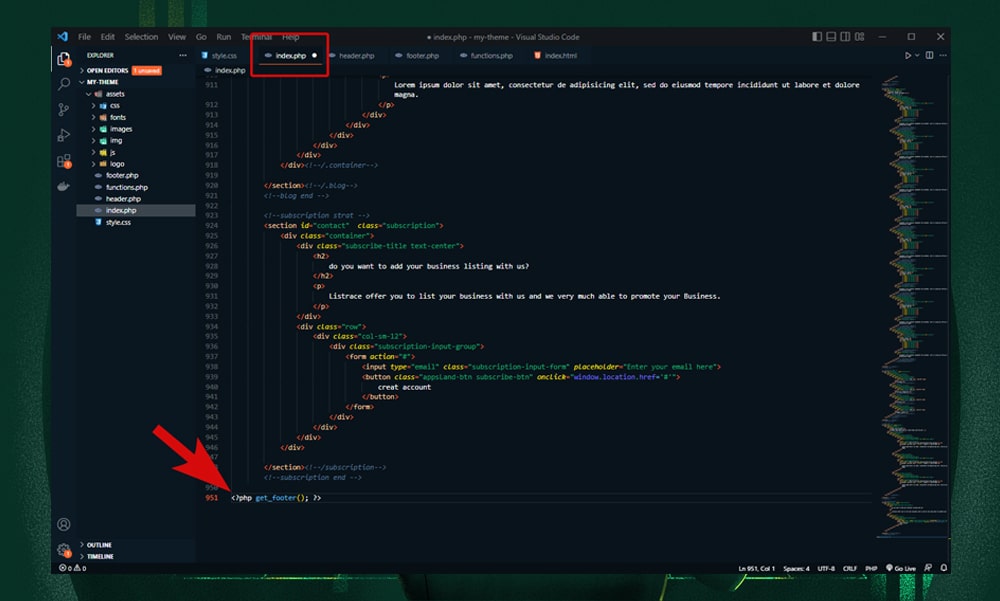
Then, we’ll add the footer by copying this code at the end of the index.php file:
<?php get_footer(); ?>Your index.php file should now look like this:
6) Add the CSS Stylesheet
Next, we're going to add the CSS codes to apply the style of our chosen theme on WordPress.
First, we’ll need to add the following information to our style.css file:
/*

Theme Name: My WordPress Theme

Author: Christy

Description: This code converts HTML to WordPress.

Version: 1.0

*/
Note: Make sure to replace the theme name and author.
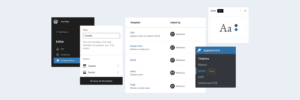
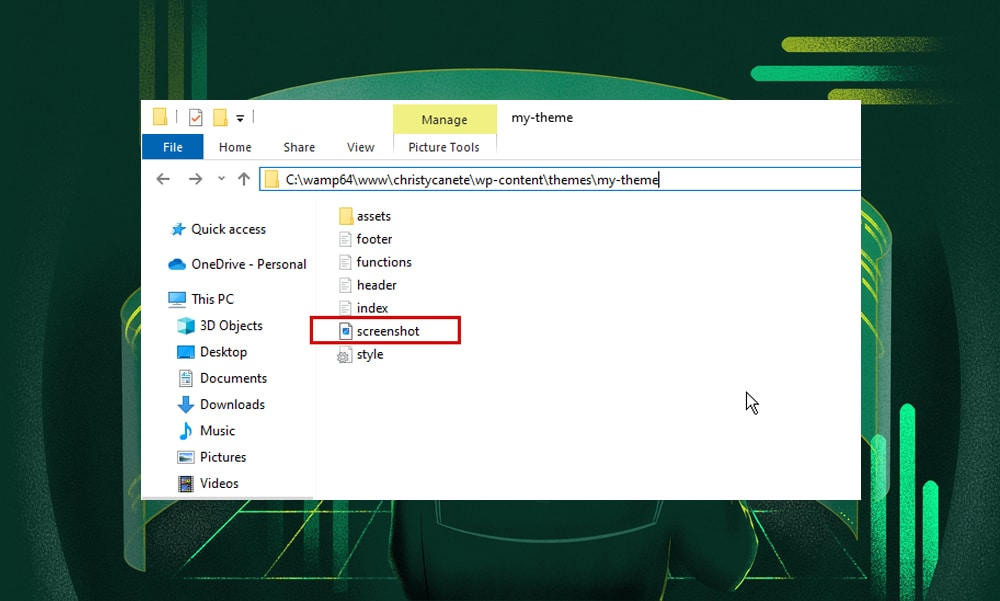
Now, we’ll need to add an image to represent our new theme on the WordPress installation area. This image should be 800x600 pixels and in PNG format. Name the image screenshot.png and add it inside the theme folder, as shown here:
Log in to your WordPress dashboard and go to Appearance > Themes. You should see the new theme added here.
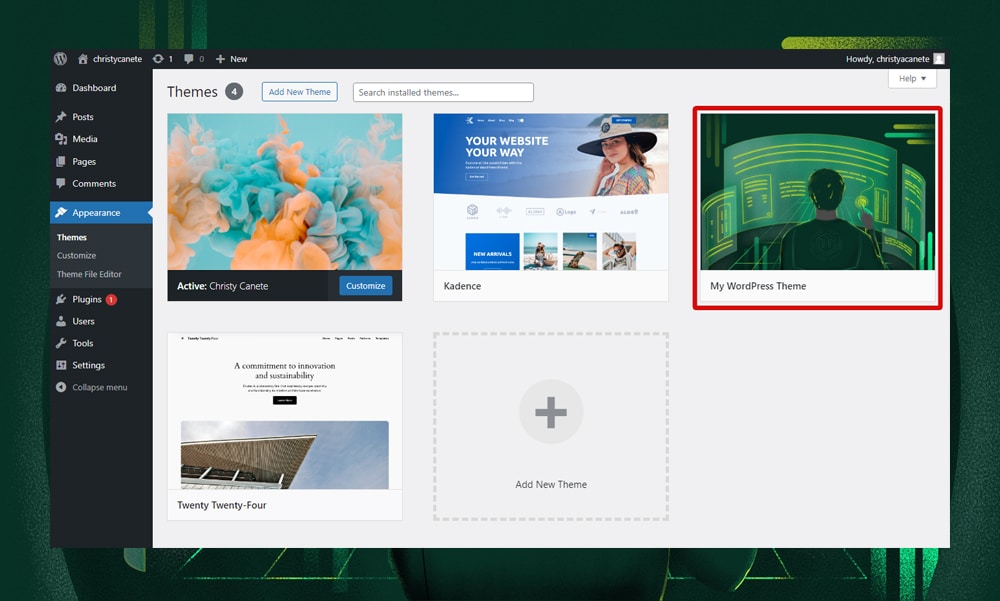
Click it to view the theme information.
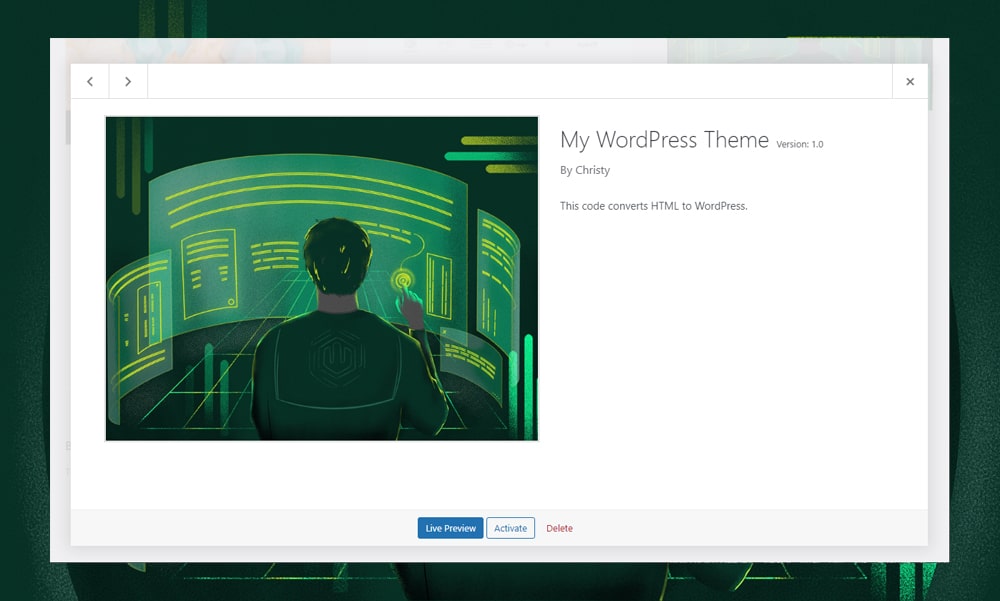
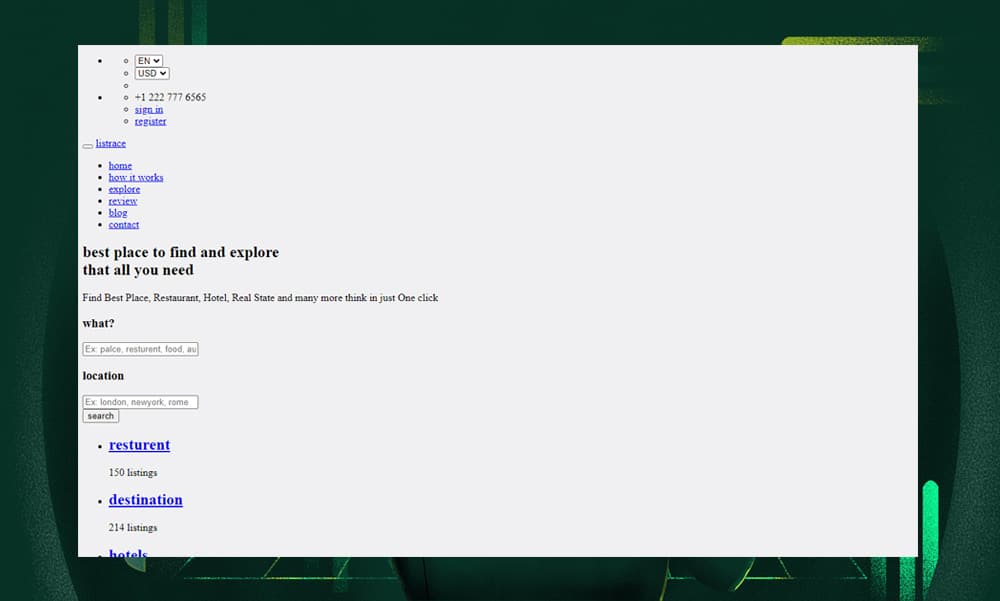
When you click the ‘activate’ button and check your homepage on the browser, you should only see plain texts and links. To apply the style, we need to copy the CSS codes of our theme.
Once again, open the index.html file of your theme. Look for the rel="stylesheet" enclosed within the <link> tab.
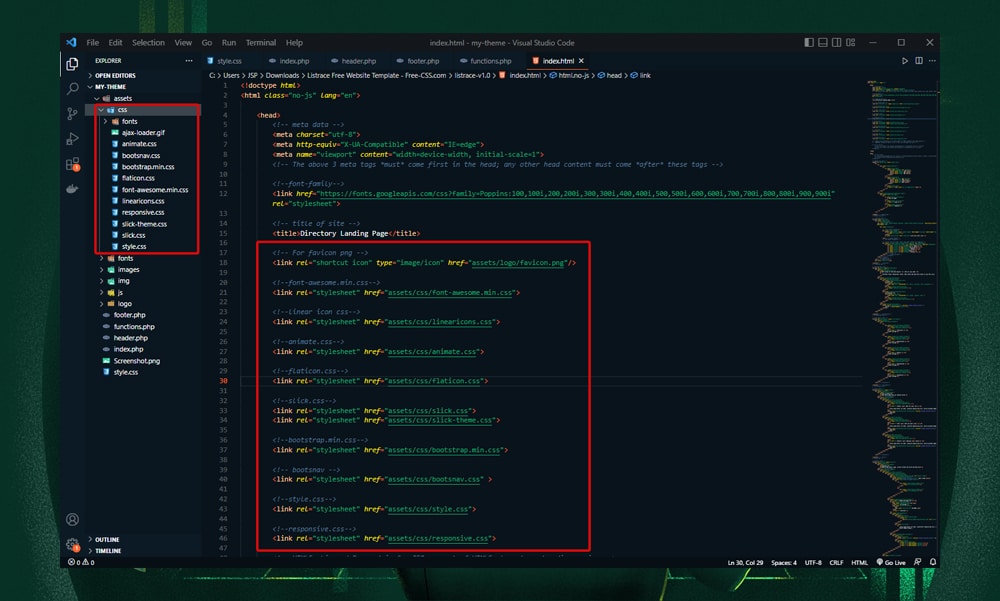
In HTML, this attribute is used to link the CSS files (you should see these files inside your ‘asset’ folder).
However, WordPress doesn’t understand this structure. We need to enqueue the stylesheets by adding these codes to the functions.php file:
<?php

function add_css() {

    wp_enqueue_style('favicon', get_theme_file_uri('/assets/logo/favicon.png'));

    wp_enqueue_style('font-awesome', get_theme_file_uri('/assets/css/font-awesome.min.css'));

    wp_enqueue_style('linear-icons', get_theme_file_uri('/assets/css/linearicons.css'));

    wp_enqueue_style('animate', get_theme_file_uri('/assets/css/animate.css'));

    wp_enqueue_style('flaticon', get_theme_file_uri('/assets/css/flaticon.css'));

    wp_enqueue_style('slick', get_theme_file_uri('/assets/css/slick.css'));

    wp_enqueue_style('slick-theme', get_theme_file_uri('/assets/css/slick-theme.css'));

    wp_enqueue_style('bootstrap', get_theme_file_uri('/assets/css/bootstrap.min.css'));

    wp_enqueue_style('bootsnav', get_theme_file_uri('/assets/css/bootsnav.css'));

    wp_enqueue_style('theme-style', get_theme_file_uri('/assets/css/style.css'));

    wp_enqueue_style('theme-style-responsive', get_theme_file_uri('/assets/css/responsive.css'));

}

add_action('wp_enqueue_scripts', 'add_css');
In the codes above, we’ve created a function called add_css() (you can name this in any way you want). Inside the function, we’ve used the wp_enqueue_style() to enqueue each of our stylesheets, as shown above.
The get_theme_file_uri() function is used to retrieve the path of our CSS files within the theme directory. This function is useful because it automatically handles the correct URL path of our files, regardless of where the WordPress installation is located.
Now, once you’ve enqueued all your CSS files, you can delete them from the header.php. Then, add this code just before the </head> line:
<?php wp_head(); ?>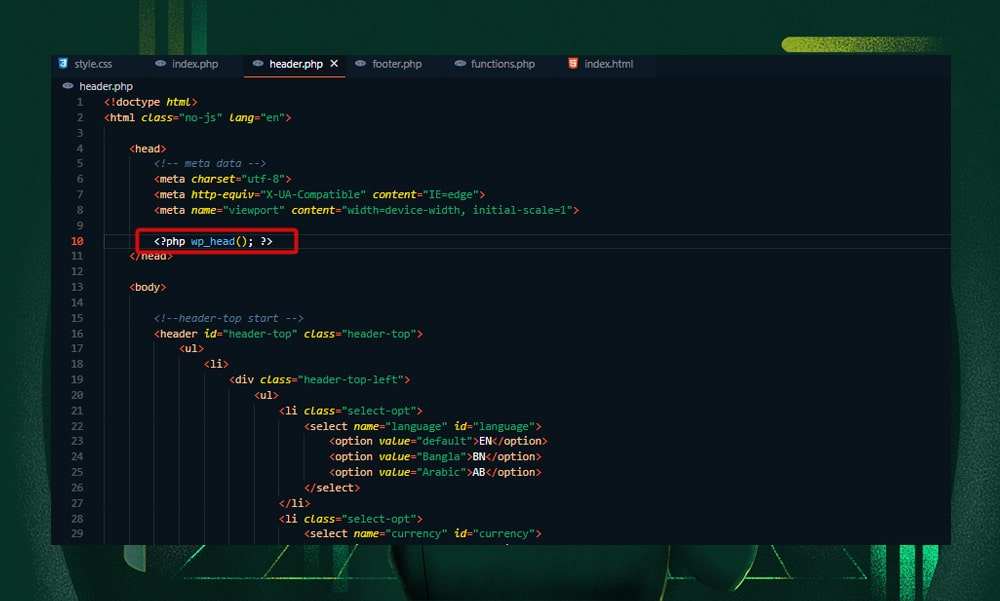
When you open your homepage on the browser, you should now see the theme style applied.
7) Update the Paths of Image Files
After adding your CSS files, you’ll notice that it doesn’t look complete. That’s because we haven’t updated the path of the images.
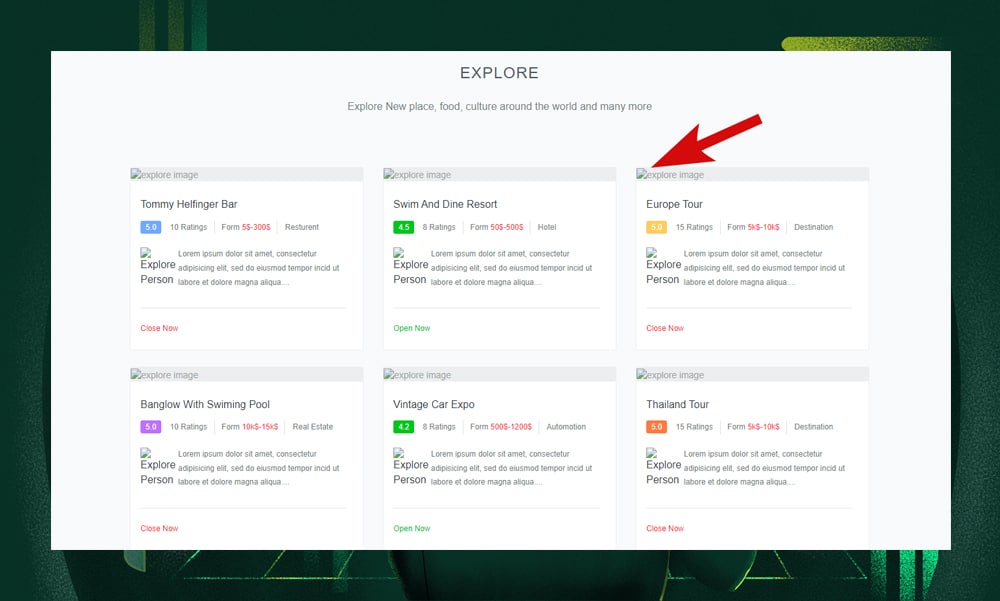
First, open the file containing the codes of your homepage (index.php) and look for the <img> tags. These tags contain the src attribute which points to the folder location of the images.

Instead of just adding the file path, we’ll need to use the get_template_directory_uri() function to ensure we’re getting the correct file path, regardless of the location of your WordPress theme installation.
Make sure to enclose the function within PHP tags and echo the correct path. Do this to all your images. Example:
<img src="<?php echo get_template_directory_uri(). '/assets/images/explore/e1.jpg" alt="explore image'; " ?>Save the changes. You should now be able to see all the images on your homepage.
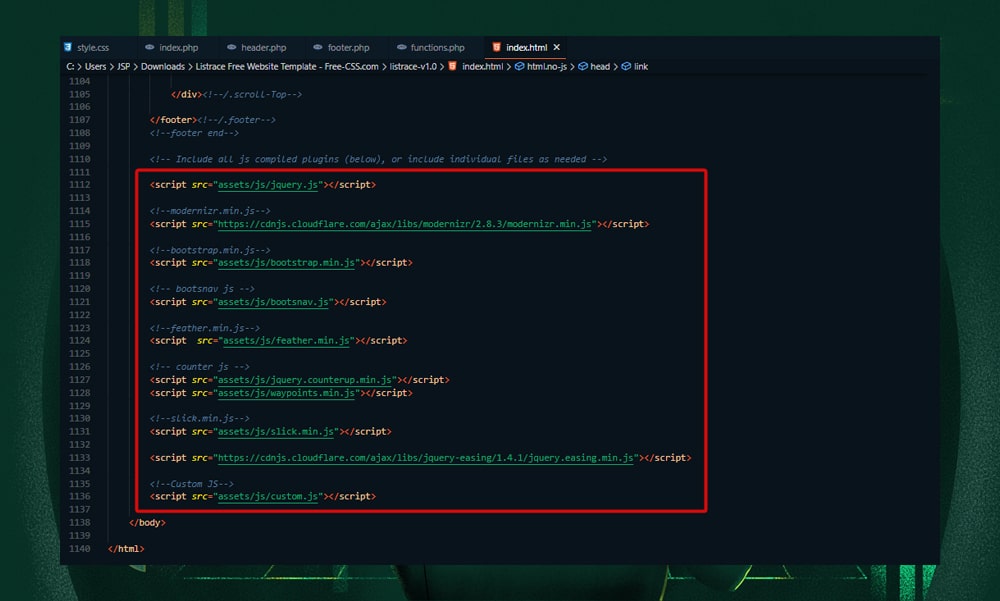
8) Add the JavaScript Files
The JavaScript files add interactive and dynamic features to our WordPress website. This can include sliders, pop-up forms, AJAX-based loading of content, and many others.
Open the index.html file and look for the attributes enclosed within the <script> tag. These are your JavaScript files.
Just like CSS, we need to enqueue the script files to our functions.php file. But instead of wp_enqueue_style(), we’ll be using the wp_enqueue_script() function, as shown below:
function add_script() {

    wp_enqueue_script('main-js', get_theme_file_uri('/assets/js/jquery.js'), array('jquery'), '1.0', true);

    wp_enqueue_script('modernizr', 'https://cdnjs.cloudflare.com/ajax/libs/modernizr/2.8.3/modernizr.min.js', array('jquery'), '1.0', true);

    wp_enqueue_script('bootstrap', get_theme_file_uri('/assets/js/bootstrap.min.js'), array('jquery'), '1.0', true);

    wp_enqueue_script('feather', get_theme_file_uri('/assets/js/feather.min.js'), array('jquery'), '1.0', true);

    wp_enqueue_script('counter-js', get_theme_file_uri('/assets/js/jquery.counterup.min.js'), array('jquery'), '1.0', true);

    wp_enqueue_script('waypoints', get_theme_file_uri('/assets/js/waypoints.min.js'), array('jquery'), '1.0', true);

    wp_enqueue_script('slick', get_theme_file_uri('/assets/js/slick.min.js'), array('jquery'), '1.0', true);

    wp_enqueue_script('ajax', 'https://cdnjs.cloudflare.com/ajax/libs/jquery-easing/1.4.1/jquery.easing.min.js', array('jquery'), '1.0', true);

    wp_enqueue_script('custom-js', get_theme_file_uri('/assets/js/custom.js'), array('jquery'), '1.0', true);

}

add_action('wp_enqueue_scripts', 'add_script');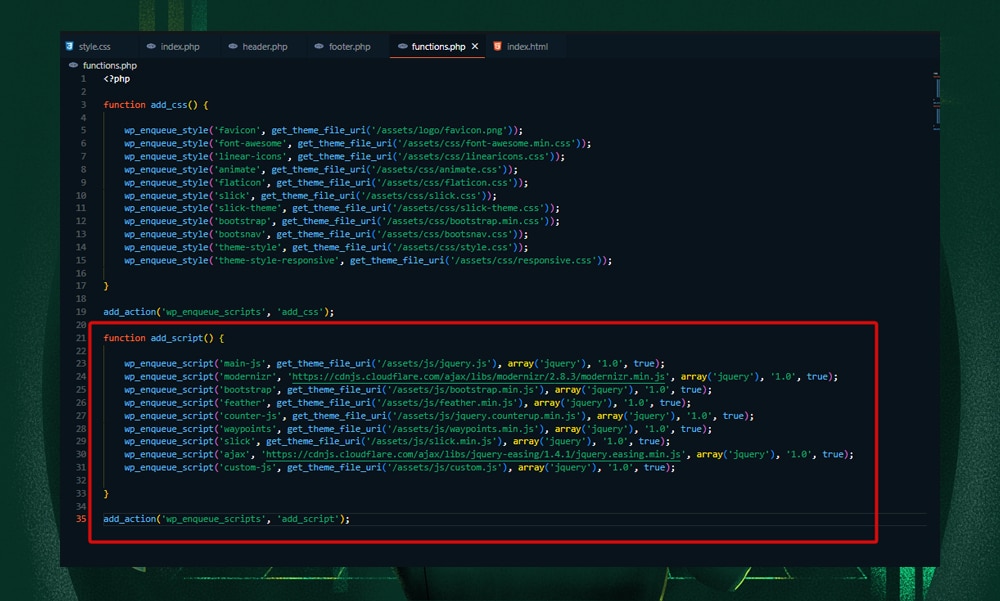
Once you’ve added these codes, you can delete the JavaScript links from the footer.php. Then, paste this code just before the </body> tag:
<?php wp_footer(); ?>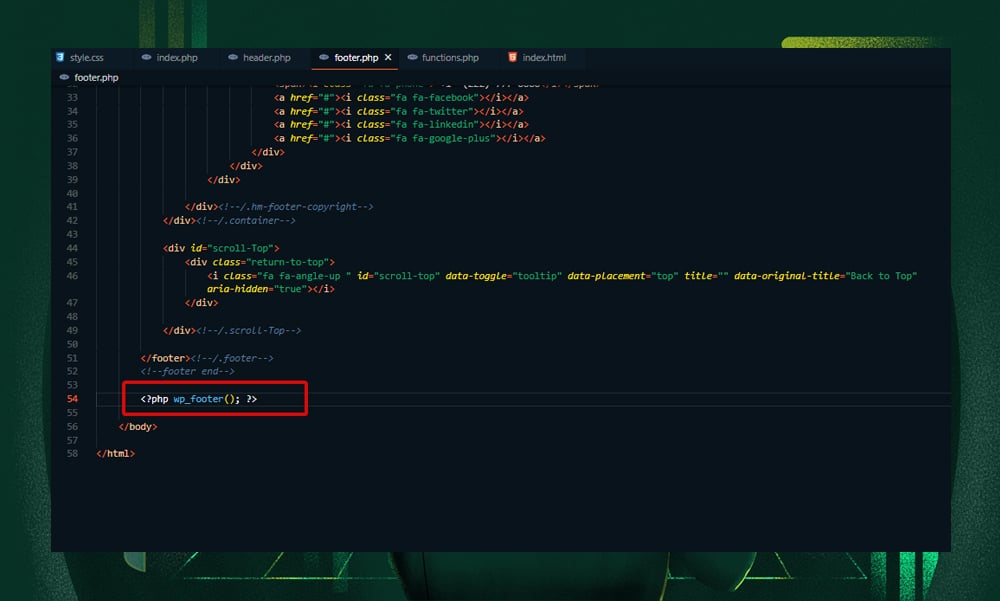
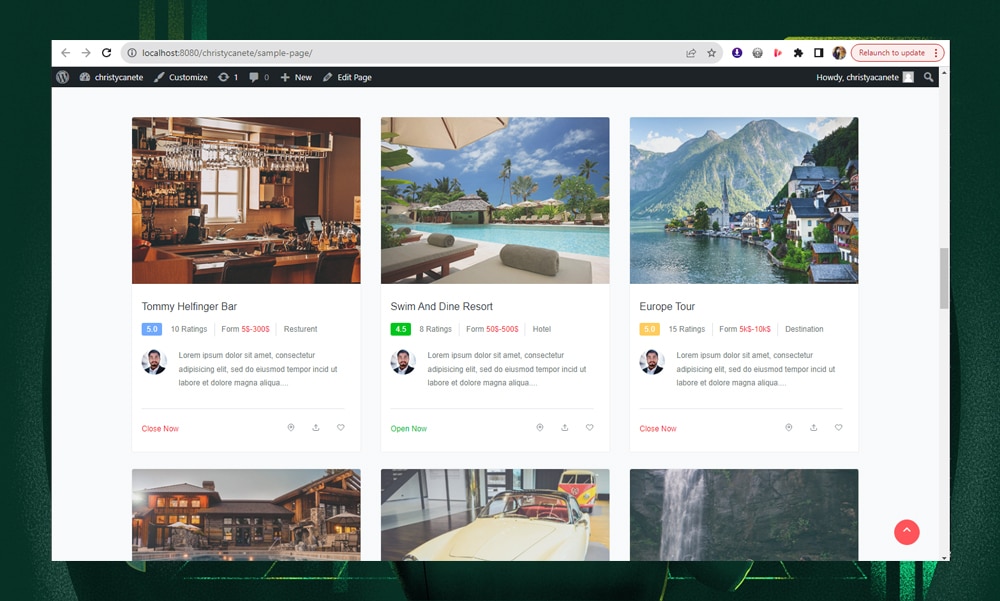
Finally, save the changes and check your site’s front-end.
Here’s the final look at our homepage:
Wrapping It Up
You’ve just converted your simple HTML site into a WordPress theme!
Now that your site is up and running on WordPress, you can further customize it by adding plugins.
WordPress has an extensive ecosystem of plugins for virtually every need. Whether your goal is to optimize SEO, strengthen security, or elevate the overall user experience, there's a plugin available just for that purpose.
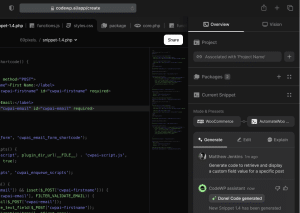
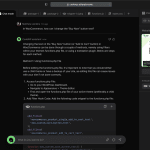
But if you’re up for the challenge, consider adding custom codes to tweak your website. CodeWP can help you with that. This AI-powered tool is trained specifically for WordPress development and can generate code snippets quickly and efficiently.
So, what's next for your WordPress site? Plugins, custom codes, or a bit of both? Let us know in the comments!