


WordPress has thousands of free and premium plugins. From adding advanced e-commerce features to search engine optimization, there's a plugin to meet every need.
Now, these plugins don’t come pre-added. You need to install them on your WordPress site.
You can install a WordPress plugin in three ways: through plugin search, plugin upload, or FTP. Below, we'll guide you through each method to make your website instantly better.
Before We Begin
There are a few things you need to prepare before installing a plugin to your WordPress site. These measures will help you avoid any issues down the line and ensure a smooth installation process.
1. Check WordPress Version Compatibility
Make sure that the plugin is compatible with your current WordPress version. This is essential because a plugin designed for a different version might not work correctly or could even cause issues on your site. You can usually find compatibility information on the plugin’s download page or within its documentation.
2. Back Up Your Website
Always back up your website - this is extremely important! By doing so, you can quickly restore your site if anything goes wrong during the installation. You can do it manually, use your hosting provider's backup solutions, or get a WordPress backup plugin for this purpose. Some of our favorites are UpdraftPlus, Duplicator Pro, and Jetpack VaultPress Backup.
Better yet, try to install the plugin on a staging site to test the plugin's compatibility with your existing setup without risking the stability of your live website.
3. Make Sure the Plugin is Updated
Be wary of WordPress plugins that haven't been updated in over a year. These plugins can cause a lot of issues, including compatibility issues and security vulnerabilities. You can check a plugin's last update on the ‘View Details’ from the WordPress Dashboard.
Keep in mind, though, that some plugins might appear up-to-date. It doesn’t always mean they’re secure, especially if it hasn't received recent updates from the developer. In this case, it's best to find a more regularly updated alternative.
4. Choose Plugins with Good Reviews
Reliable and well-coded plugins usually receive positive feedback from the user community. Regular updates and active support from the developers are also key indicators of a plugin's trustworthiness and value. So, make sure to consider these features before adding a plugin to your site.
How to Install a Plugin on WordPress - 3 Ways
Ready to enhance your WordPress site? Below, we've outlined three different methods to install a plugin on WordPress. Go ahead and explore each method to find the best approach for your site.
Method 1: Install via Plugin Search
Installing a plugin through the WordPress dashboard is the easiest method, especially for beginners. Here's how you can do it:
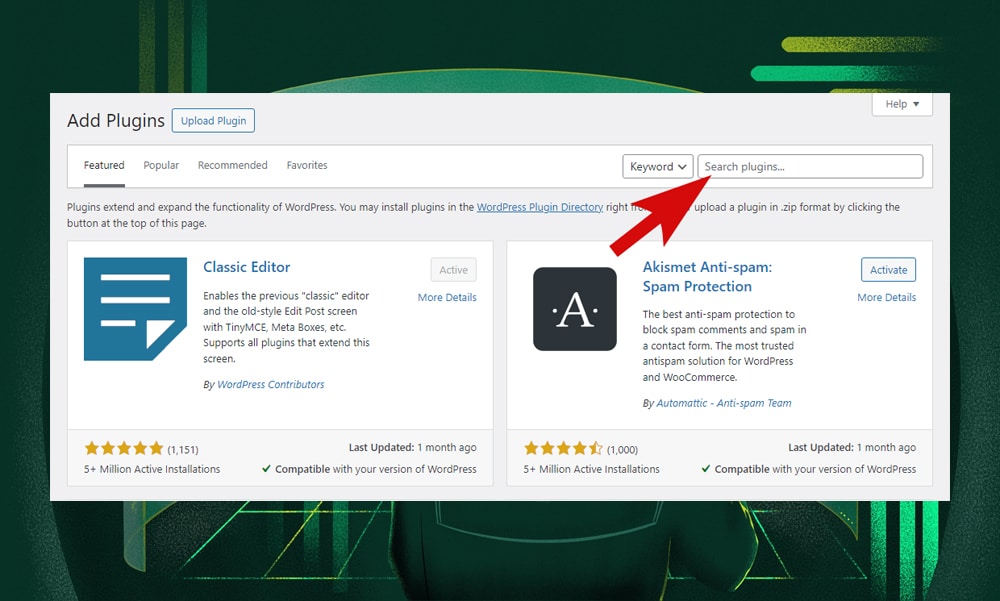
First, log in to your WordPress site and go to the dashboard. Find and click on the 'Plugins' menu, then select 'Add New Plugin'.
Use the search bar located on the top-right side of the page to find the plugin you need. You can search by the plugin's name or by a functionality keyword.
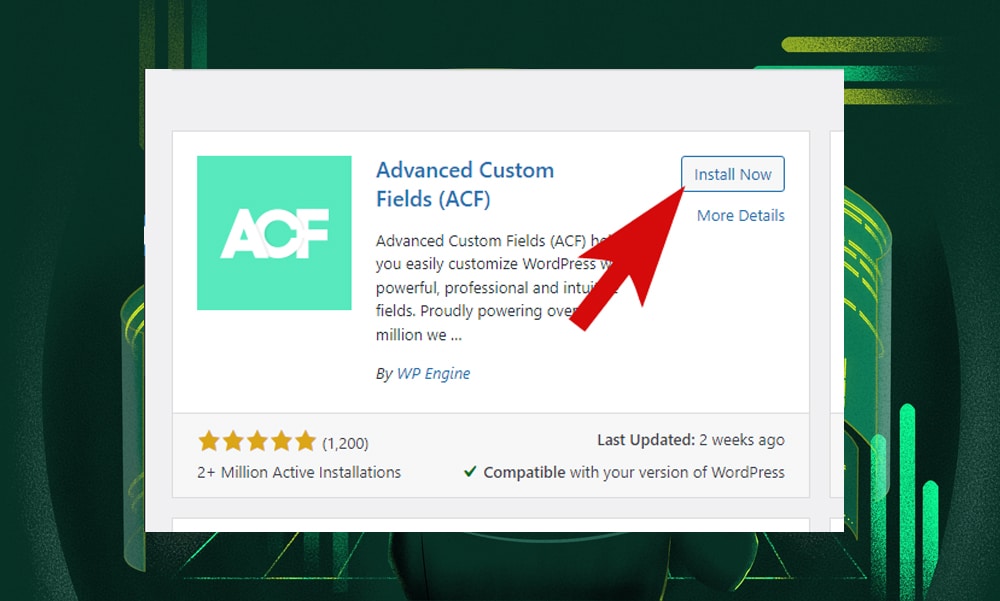
Once you find the right plugin, click the 'Install Now' next to it. WordPress will then download and install the plugin for you. After the installation is complete, click the 'Activate' button to start using the plugin on your site. That’s it!
Method 2: Install via Plugin Upload
If you've found a plugin outside the WordPress Plugin Directory, perhaps a premium option with advanced features, then this is your go-to method.
Start by downloading the plugin file from the third-party source. It should be a .zip file - WordPress strictly requires this file format for uploads.
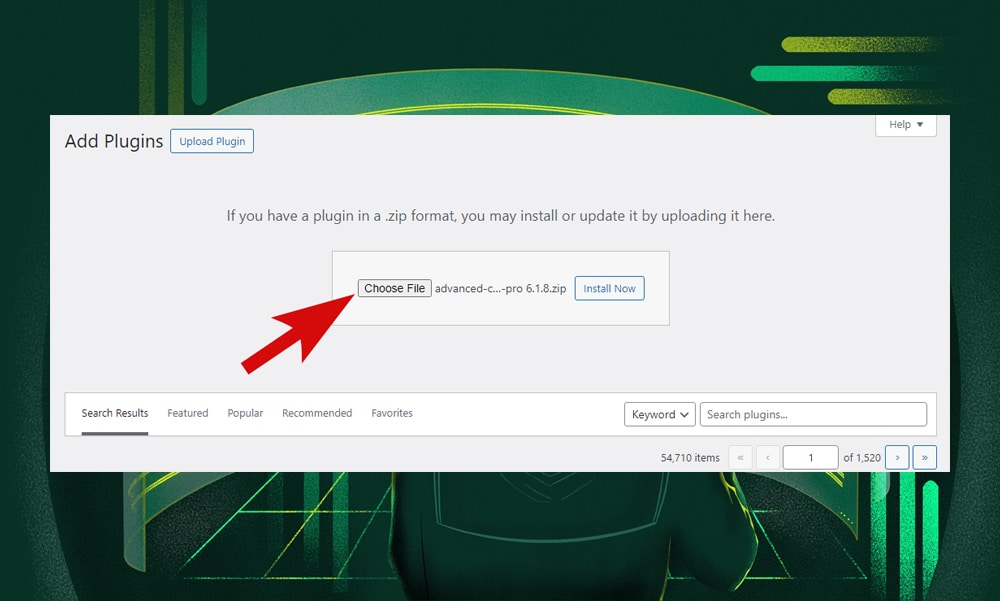
On your dashboard, go to Plugins > Add New Plugin. Click on the 'Upload Plugin' button at the top of the page. Then, choose the .zip file you’ve downloaded and click 'Install Now'.
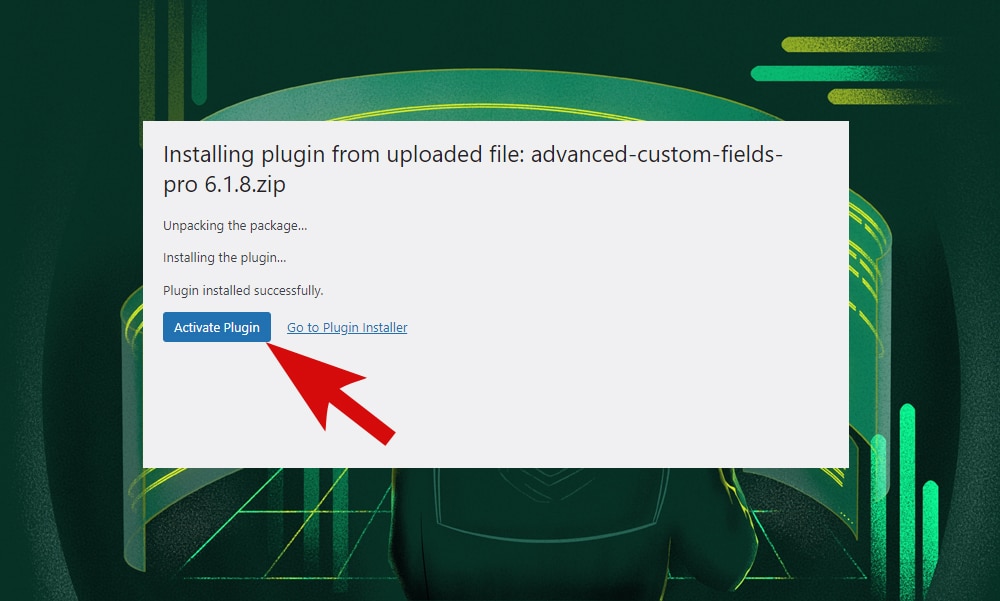
Once the upload is complete, activate the plugin to start using it on your site.
When using this method, always remember to download plugins from reputable sources to avoid security risks.
Method 3: Install via FTP
Sometimes, it’s not feasible to install a plugin directly through the WordPress dashboard, perhaps due to limited access to it or the plugin being too large for the standard upload process.
In such cases, you should install via FTP (File Transfer Protocol). This method is a bit more advanced but offers greater control over the installation process.
For this tutorial, we'll use FileZilla as our FTP client and FreeHostingNoAds as our hosting provider.
First, download the plugin from a third-party source. This will typically be in a .zip format.
Next, unzip the plugin file on your computer. This will create a new folder with the plugin's name.
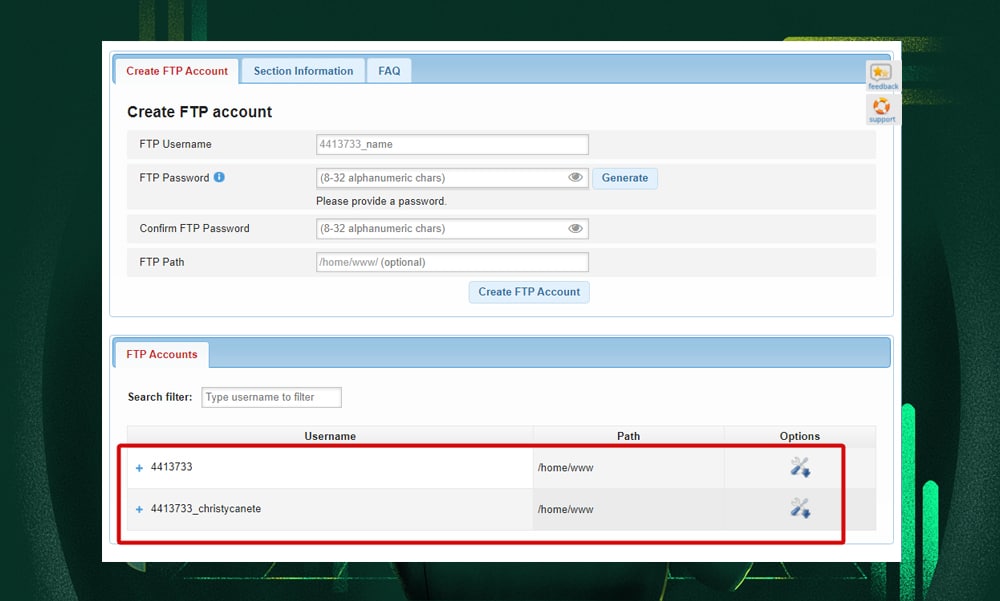
Log in to your cpanel and copy the FTP credentials provided by your hosting service provider (or create a new one). These credentials include a hostname, username, and password. In FreeHostingNoAds, you can find your FTP accounts on Hosting Tools > FTP Manager.
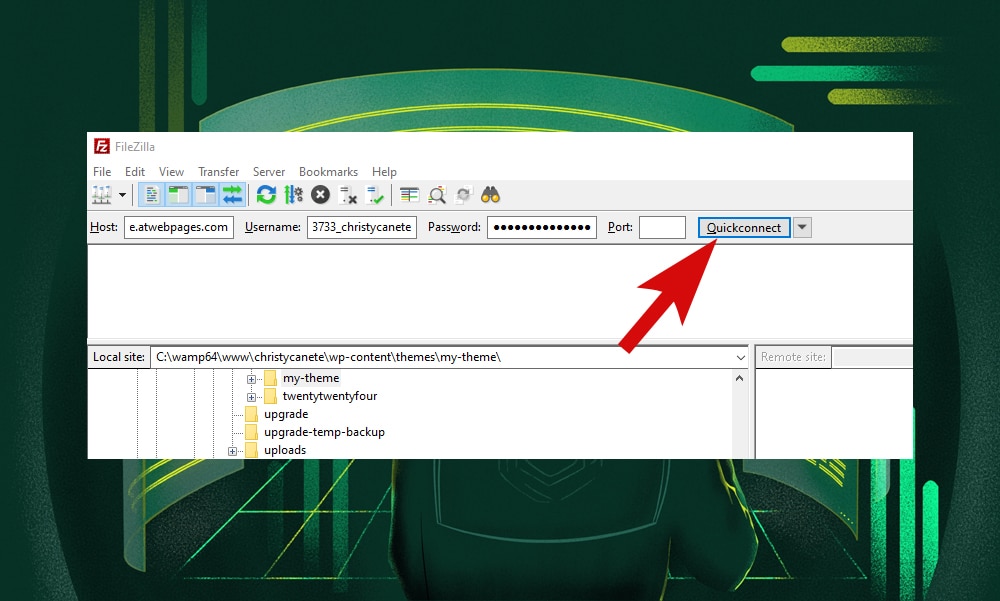
Now, open FileZilla and connect to your web server by entering your FTP credentials. Then, click ‘Quickconnect’.
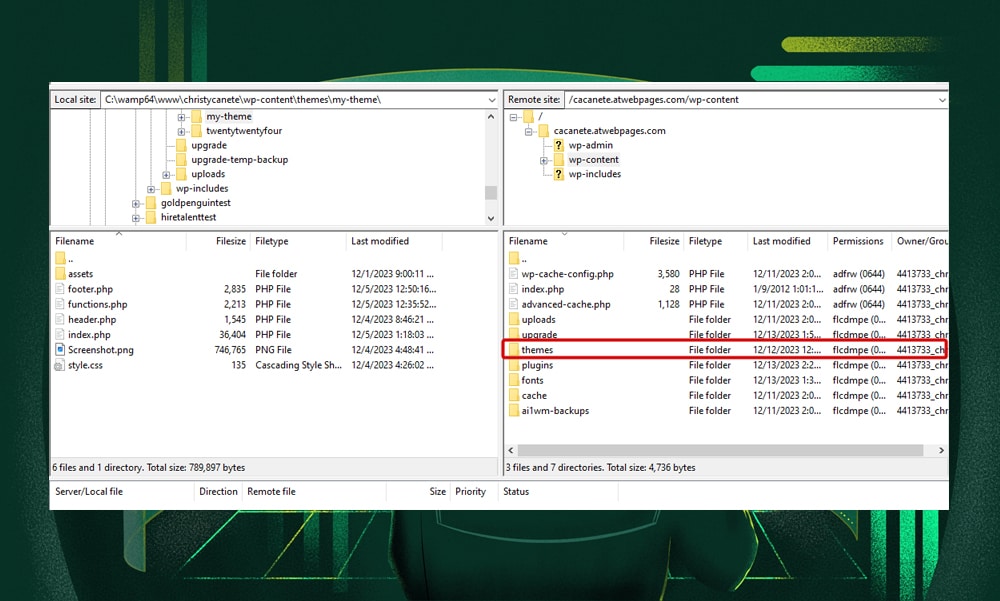
Navigate to the 'wp-content/plugins' directory of your WordPress site. In FileZilla, this can be found on the right panel.
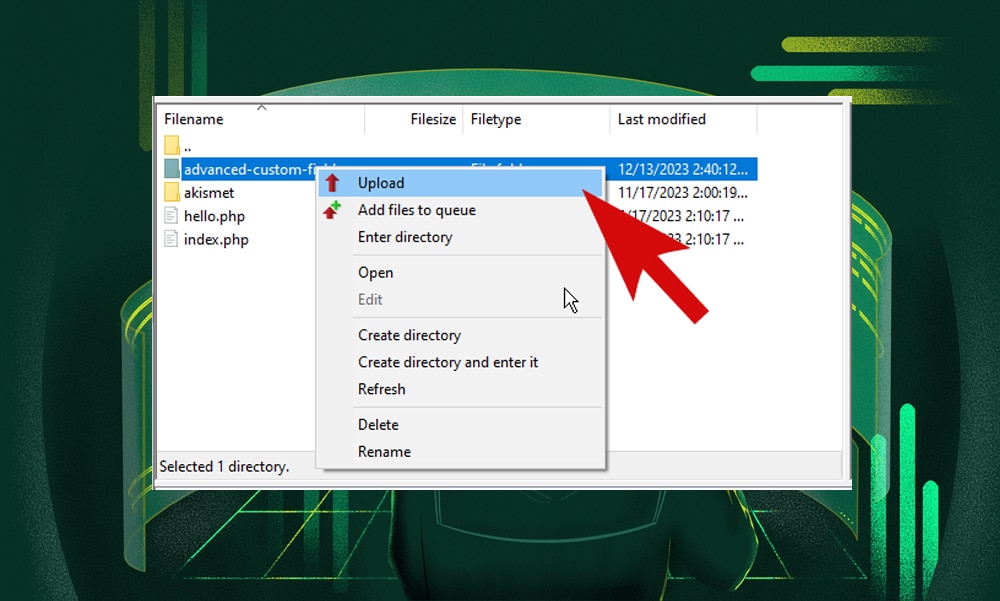
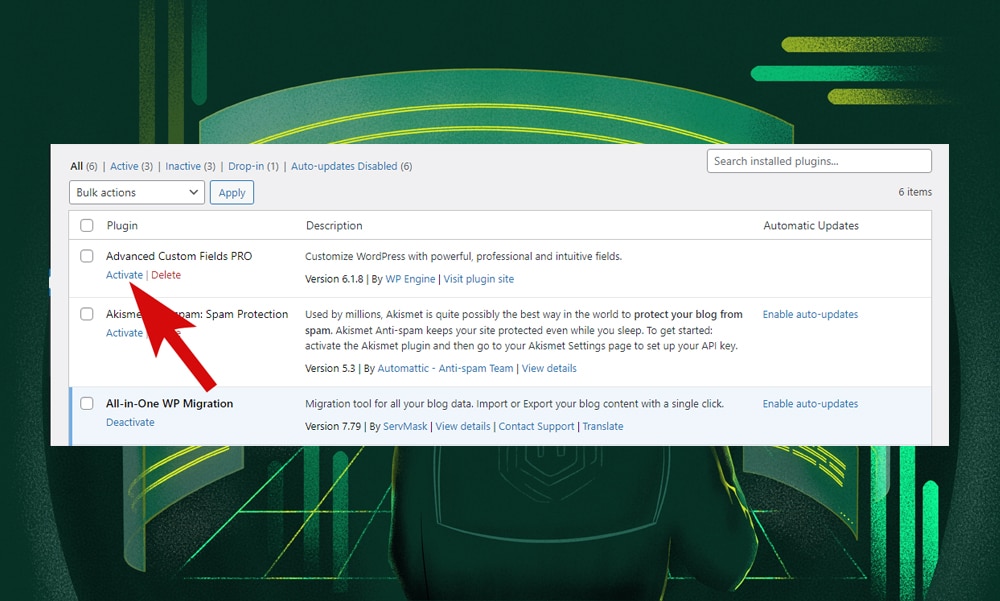
Then, on the left panel, locate the unzipped plugin folder from your computer. In our example, we will upload the ACF Pro plugin. Right-click on the folder and select ‘Upload’. FileZilla will then start uploading the plugin to your server’s current directory.
Once the upload is complete, go back to your WordPress dashboard and navigate to Plugins > Installed Plugins. You should be able to see the newly uploaded plugin listed there. Click 'Activate' to start using the plugin on your site.
And you’re done!
How to Install a Plugin on WordPress - FAQs
How do I install WordPress plugins locally?
To install WordPress plugins locally, you'll first need to set up a local server environment. You can use software like WAMP, XAMPP, or MAMP. Then, in your local WordPress dashboard, go to the 'Plugins' section and upload your plugin file or install it directly from the WordPress plugin repository.
Note that you can also copy and paste the unzipped plugin folder on the ‘wp-content/plugins’ directory on your computer.
How do I install WordPress plugins for free?
To install free WordPress plugins, simply go to your WordPress dashboard, and navigate to Plugins > Add New. Search for the plugin - you can enter the keywords on the search bar or browse the directory. Once you found it, click 'Install Now' and then 'Activate'.
Are all plugins on WordPress free?
No, not all WordPress plugins are free. Some plugins are only available in premium versions, which means you might need to pay for the license to access its additional features and support.
How do I find plugins on my WordPress site?
To find plugins on your WordPress site, go to the 'Plugins' section in the left-hand menu, and then select 'Installed Plugins.' This page will display a list of all the plugins currently installed on your website.
That’s a Wrap!
Now that you know how to install WordPress plugins, you're all set to boost your site's functionality.
Want to go a step further? Check out our article on the best AI plugins for WordPress. These tools can make your WordPress site smarter and more efficient. Give it a read and see how these tools can benefit your site!